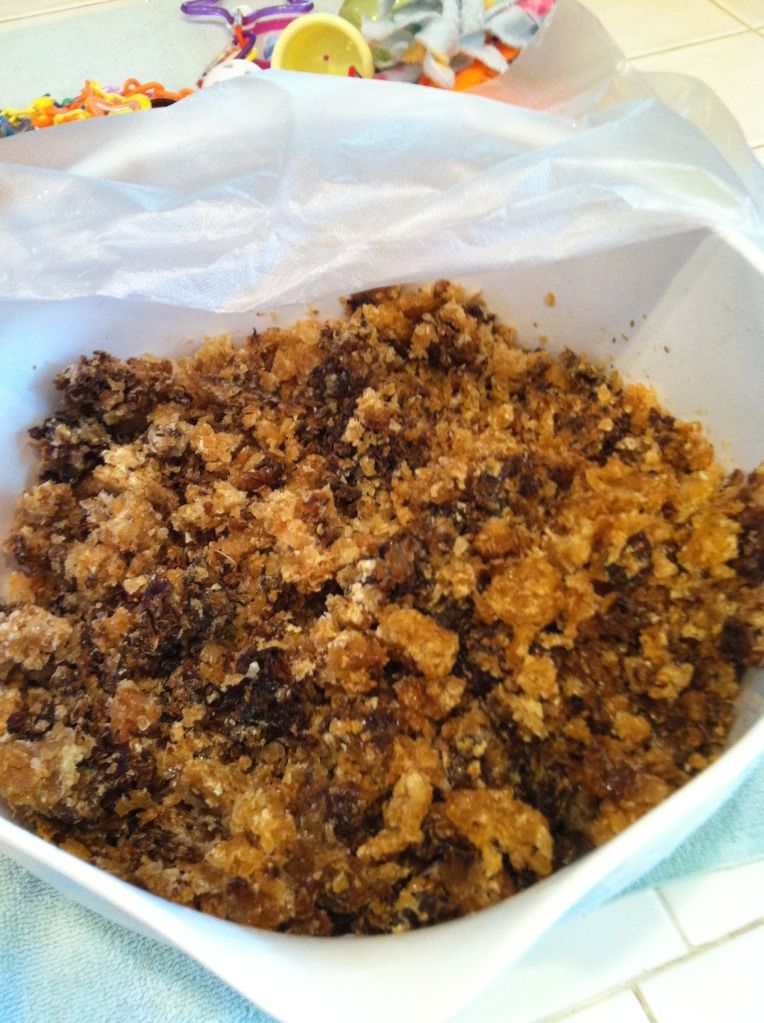
I am rendering wax for the first time. I tried to melt some wax a few months ago the first time I harvested some honey. I really didn’t know what I was doing. I used a double boiler and my measuring cup to melt the wax. The issue was that there really wasn’t much wax and a lot of slumgum. I did use a little of my wax that I melted down and used it in some lip balm that I made. Since I have divided my hives the two that have had to make queens have also made a lot of honey so I have been able to save the wax. I watched a great video by Linda’s Bee. It showed exactly what to do to make a very simple solar wax melter. Linda’s Bees is a great blog site and I am hoping that this method will render a very nice block of bees wax.
http://beekeeperlinda.blogspot.com/2007/06/video-on-how-to-use-simple-solar-wax.html
Here is what you need to do:
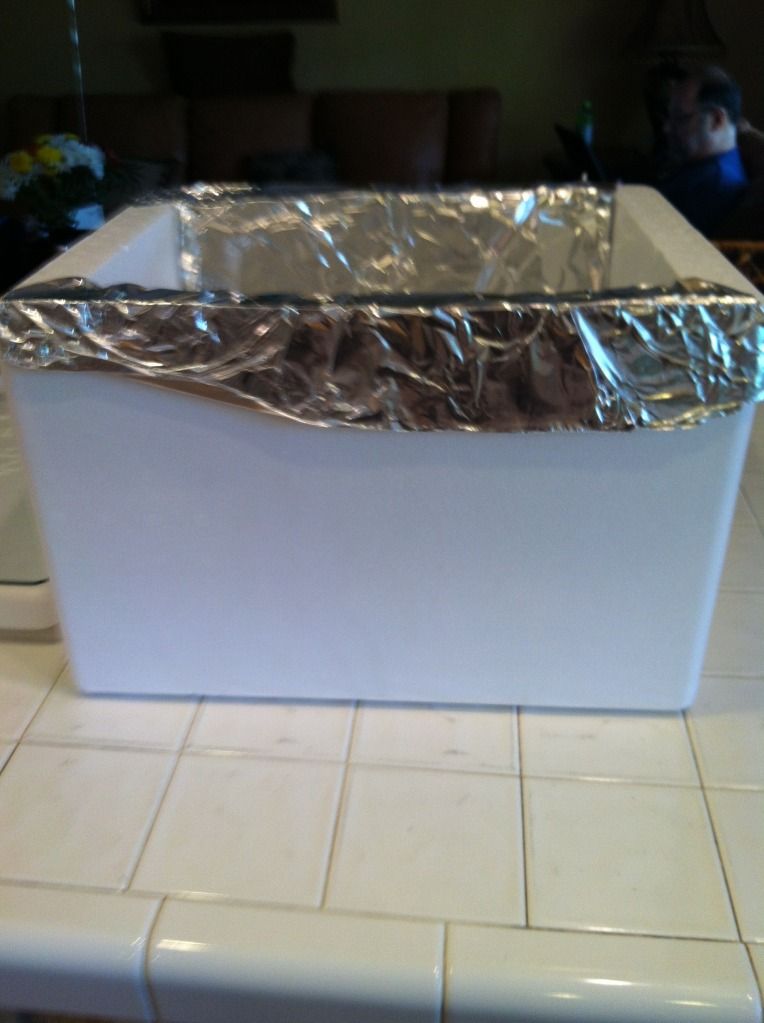
- 1. Purchase a Styrofoam cooler
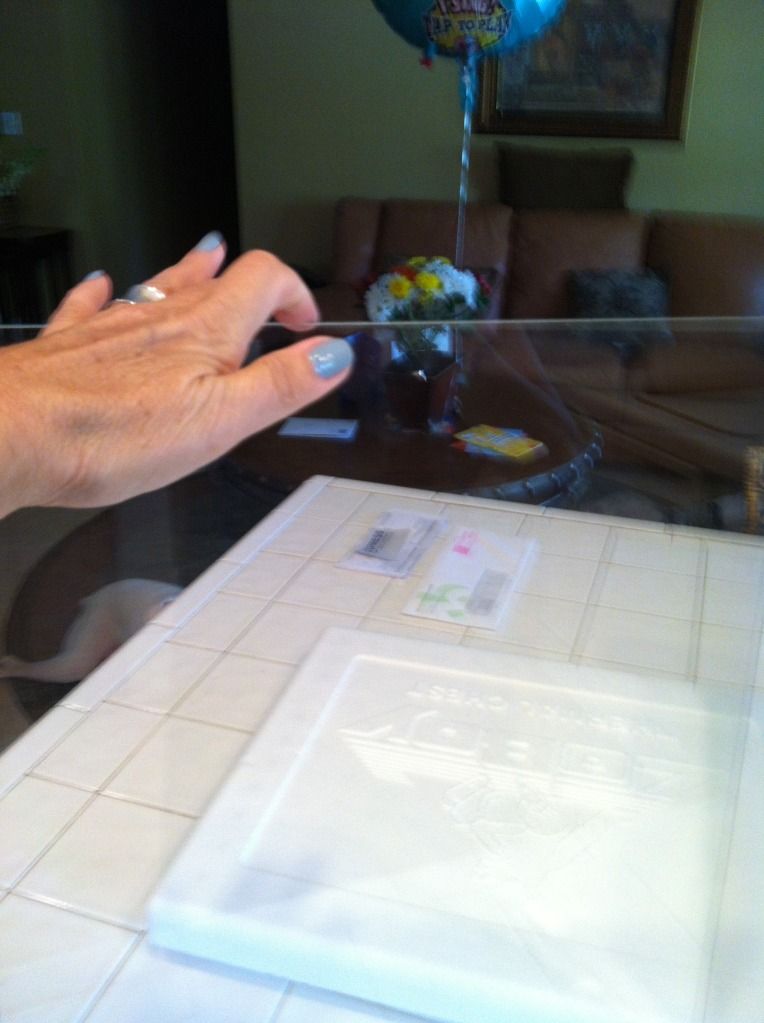
- 2. Have a piece of glass cut to fit the top
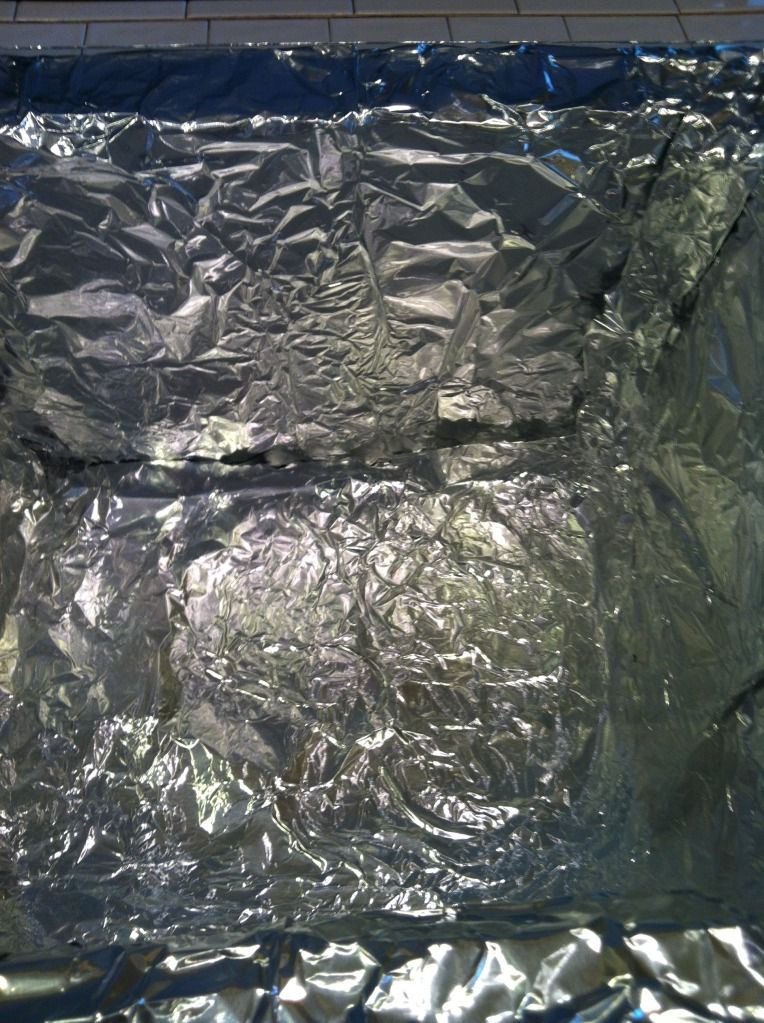
- 3. Line the cooler with aluminum foil
- 4. Choose a plastic Tupperware like container that you will use to melt your wax into
- 5. Place approximately 1 ½” of water in the bottom of the Tupperware container
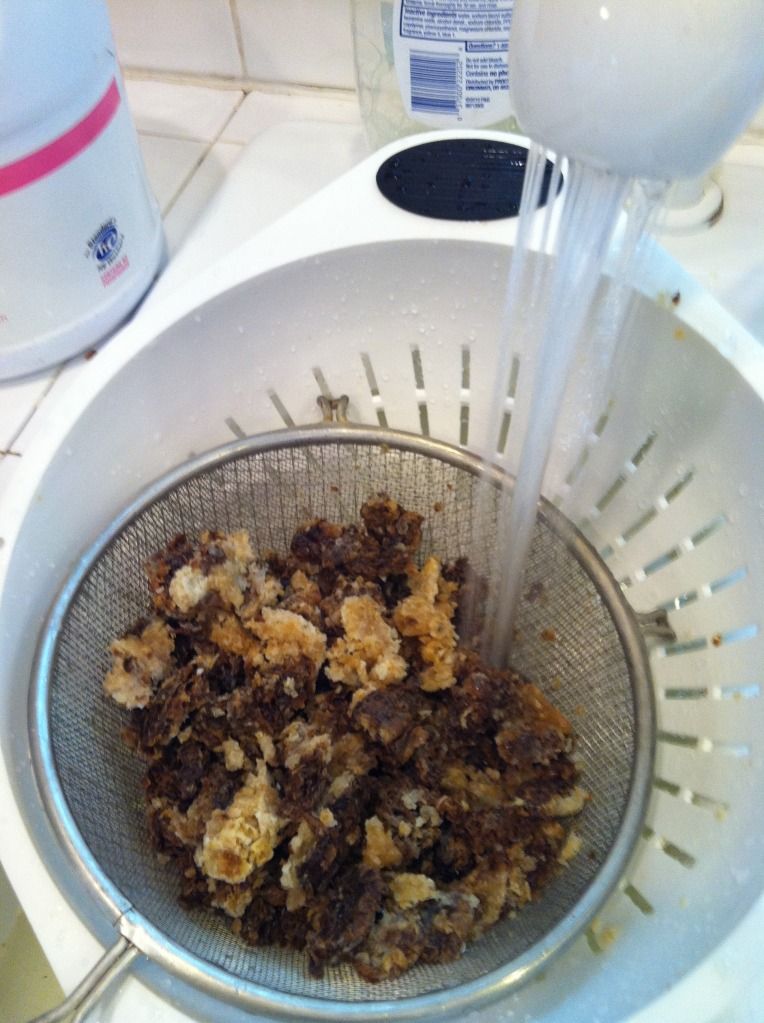
- 6. Wash your wax renderings
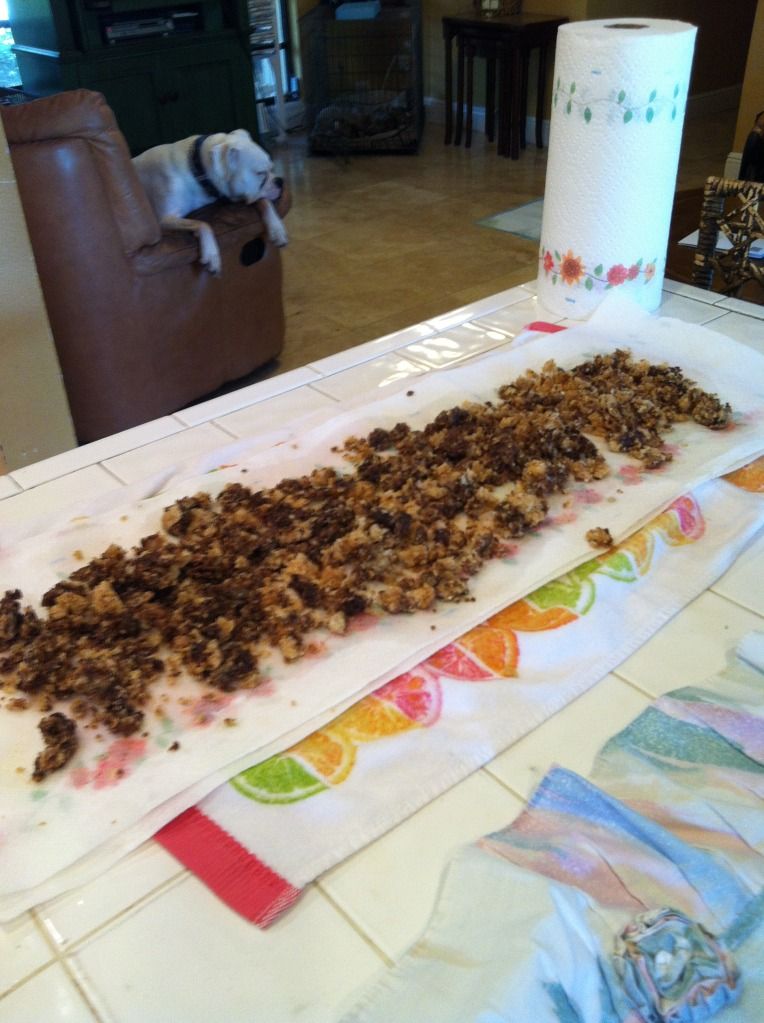
- 7. Lay a towel and paper towels to dry the water from the wax renderings.
- 8. Place the wax renderings between two paper towels and let dry for 24-48 hours
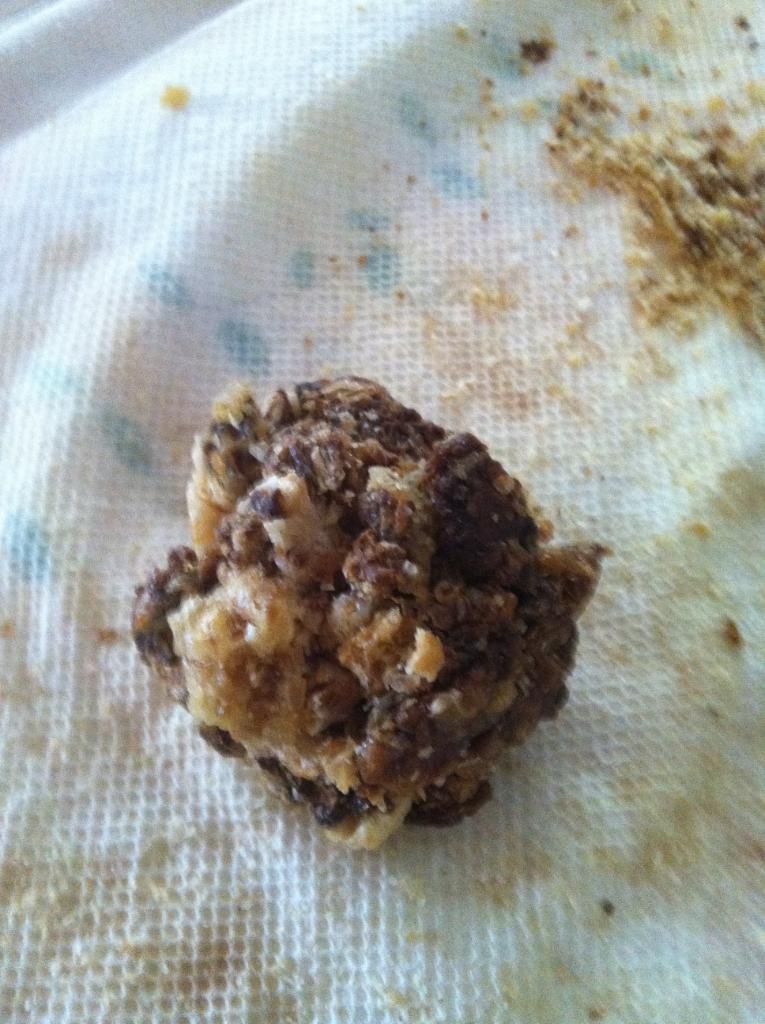
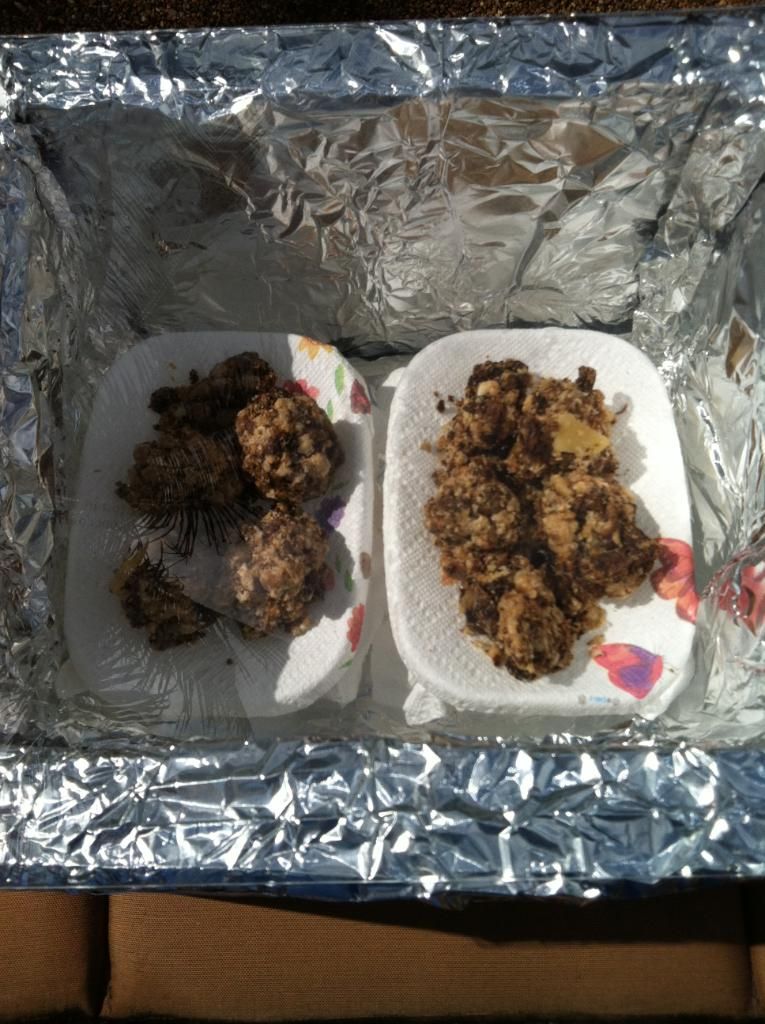
- 9. Make little wax balls
- 10. Cover the Tupperware like container with paper towel (I used cheese cloth because it fit my container better than paper towels. They were too small).
- 11. Place the wax balls on top of the cheese cloth and place in the Styrofoam container.
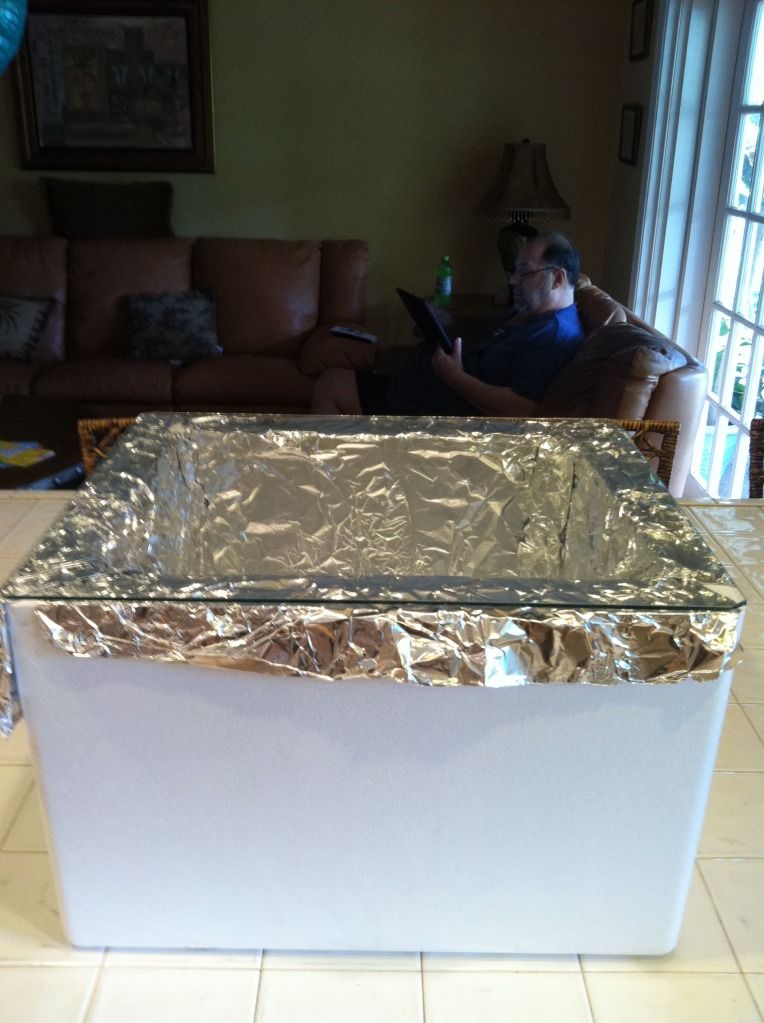
- 12. Place glass on top
- 13. Allow to sit in the sun for several hours until melted.
- 14. The water in the container will allow the wax to melt on top.
I looked for several different types of solar melters. To purchase a wooden one was about $100. You could also purchase the plans to build one for about $6.00, plus materials. This simple solar wax melter looked perfect, was inexpensive, and looks like it would work beautifully.
Today I put together the solar wax melter. It cost me about $8.50 for the glass. I washed my wax renderings and let them dry. Tomorrow I am going to try using the solar melter hopefully the weather will be very sunny. Here are some pictures of the process so far.

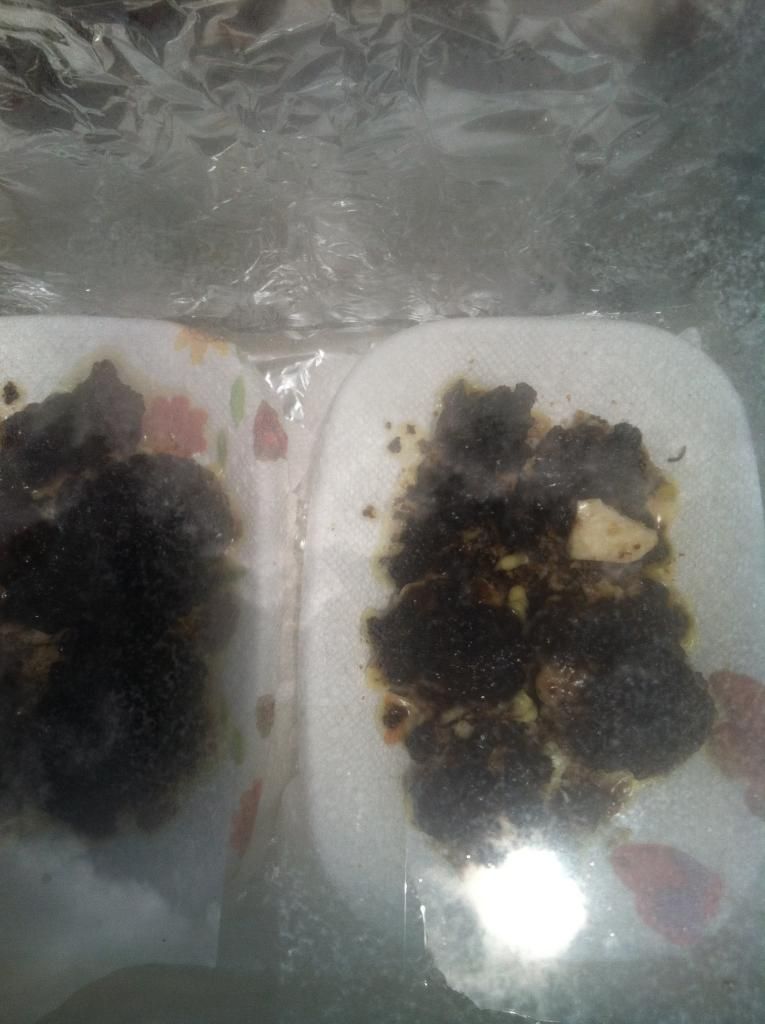
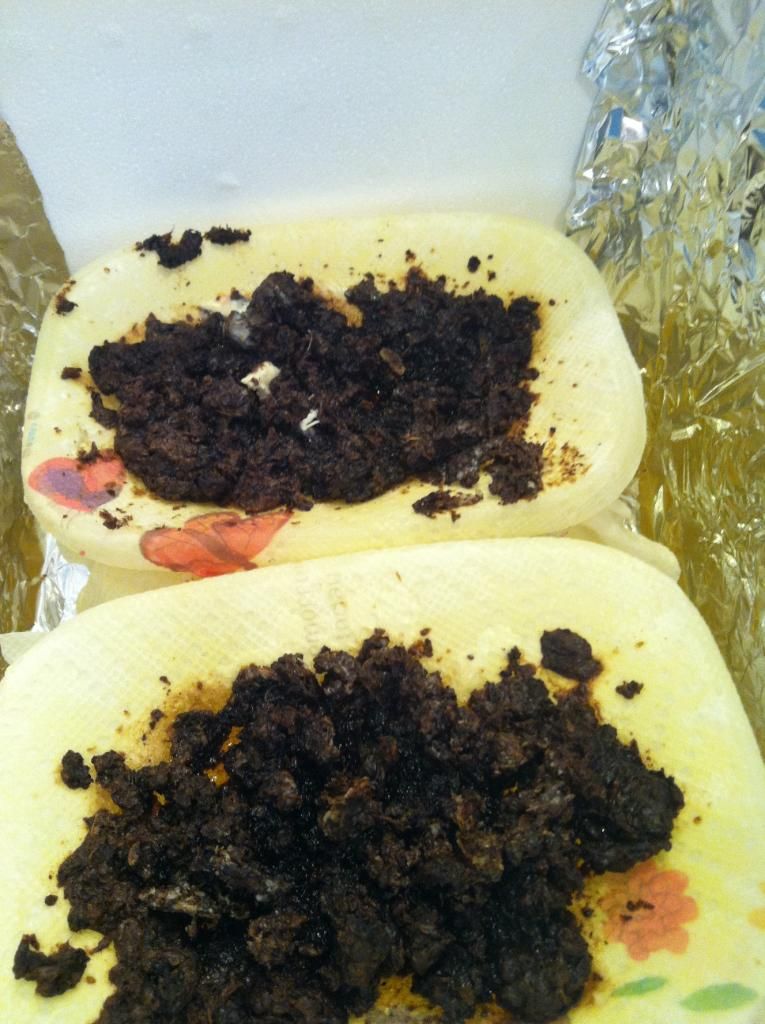
Today the weather was perfect. I made wax balls and set them on top of the paper towels. Placed the Tupperware containers in the cooler, placed the glass on top and set solar wax melter in the sun. I had them in the sun melting throughout the day. Here are several pictures of the process and finished wax. I rendered approximately 13oz of beautiful pure yellow bee’s wax. It did crack but it really doesn’t matter because I am going to use the wax to make lip balm, soap and lotions. Maybe someday I will enter my wax into a honey contest, but I am not there yet. One step at a time! This method worked perfectly!!


No comments:
Post a Comment