How I Got Started

I started Butterfly gardening many years ago. My yard has been a progression over the years, and has made many transformations. Twenty years ago I experienced Hurricane Andrew. My yard and house were destroyed. We decided not to replace the pool screening and open up the backyard and put in some landscaping. That was the official beginning of my love for gardening in South Florida. I added a beautiful water garden years ago, and have been adding host and larvae plants for pollinators, mostly for the butterfly, for as many years as I can remember. I had my yard certified as a Natural Habitat, through the National Wildlife Foundation. To have a natural habitat you need to provide and meet certain requirements: 1. Provide a food source, 2. Provide a water source, 3. Cover, 4. A place to raise young. I try not to use any pesticides in my yard. I vermicompost and recycle as many of my food scraps as possible. If I had more land I would have a huge compost bin to recycle all my yard cuttings. Basically, I try to lessen my carbon footprint on this earth. In my own little world or backyard I try to provide an ecosystem in my water garden, provide birdbaths, birdfeeders, hummingbird nectar sources, feeders, puddling areas, host plants and nectar plants for butterflies and other pollinators. I am hoping to raise everyone’s awareness of the importance of saving our Butterflies, Blooms & Bees. Without them our world and food source will be in trouble. I hope you all enjoy my journey. I am not a Master Gardener, or Master Beekeeper, an Entomologist, or Journalists. I am simply a Backyard Gardener who is trying to lessen her Carbon Footprint of this Earth.

I hope you enjoy my blogs.

Tuesday, January 1, 2013

Happy New Year!

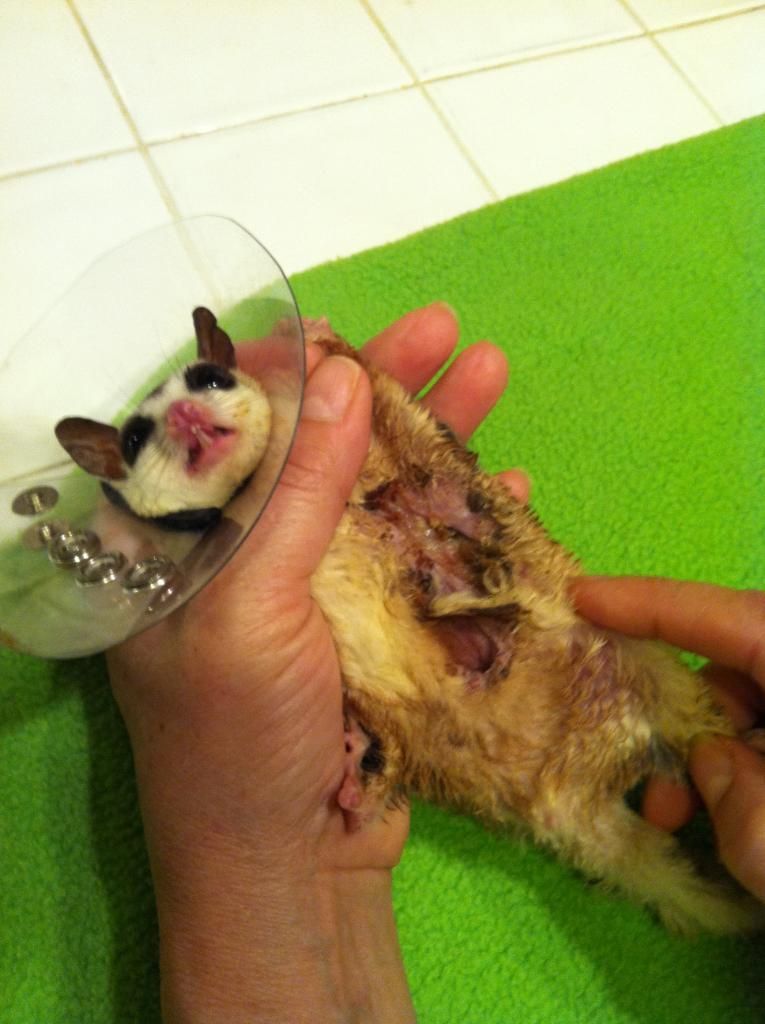
Well it has been some time since I last entered a blog. I apologize to my followers (which are mostly my family). Hopefully someday that will change, and I will actually have a true following. Life seems to have been taking up most of my time since Thanksgiving. It started with one of my sugar gliders being injured the night before Thanksgiving. For those of you that don’t know I also breed sugar gliders. They are marsupials, and I have been breeding them for several years. Prior to breeding them I had several as pets. I actually got my first sugar glider around 2000 for my youngest child Drew, who saw their picture in a reptile store. Being an animal lover I thought it would be a great pet, and soon found out that my then 5 year old son was way too young for a sugar glider. I fell in love with them and years later started breeding. Breeding can be difficult at times especially when the female sustains a mating wound, which is what happened to Tulip on Thanksgiving. She was ready to have a joey any day which really complicated the situation. The mating wound was in a very bad location. The wound was on her chest close to the patagium, which is the thin area of skin which extends from the fifth finger to the first toe. This membrane of skin allows the sugar glider to glide in their natural habitat. With the joey being so close to being born this was a terrible situation. Sugar gliders have a tendency to self mutilate. I took her to the vet and they performed surgery to clean up the wound. We debated putting her in an e collar to protect the wound. This meant she was not able to care for the joey. So for the next month or so I have been caring for not only the mother, but also the joey. This meant hand feeding every 2-4 hours around the clock. It has been a very long month and I have to say that I am exhausted. The good news is that the mom’s wound has healed very nicely and the joey is up to 26-28 Gms. There were several times that I was concerned for both of them surviving. I am including a picture of the mom and her wound and the joey. The wound is graphic and not for the squeamish.


To complicate the situation my mom had to have surgery, and since I am a nurse, I always take care of my mom whenever she has had to have surgery, which has been many times over the years. She has survived 3 primary cancers which is unbelievable. We joke that she has more lives than a cat. Her surgery went without complication and her recovery was quick. She turned 85 years old on December 23rd. Happy Birthday Mom!

Between those two situations and three of my four children home for the holidays I have had very little time to garden. The holidays for me are filled with tradition. My ancestry is both Italian, and Irish. Most of my traditions are based on my mom’s Italian heritage. That means lots of cooking during the holidays. I usually make a big pot of spaghetti sauce on Christmas Eve. The tradition is for “Seven Fishes” which is spaghetti sauce made with 7 different types of fish, but I have changed it to a nice delicious pot of spaghetti sauce. The children have grown to love and expect many of my traditions. Here are several pictures of my family and some of the food associated with our holiday.


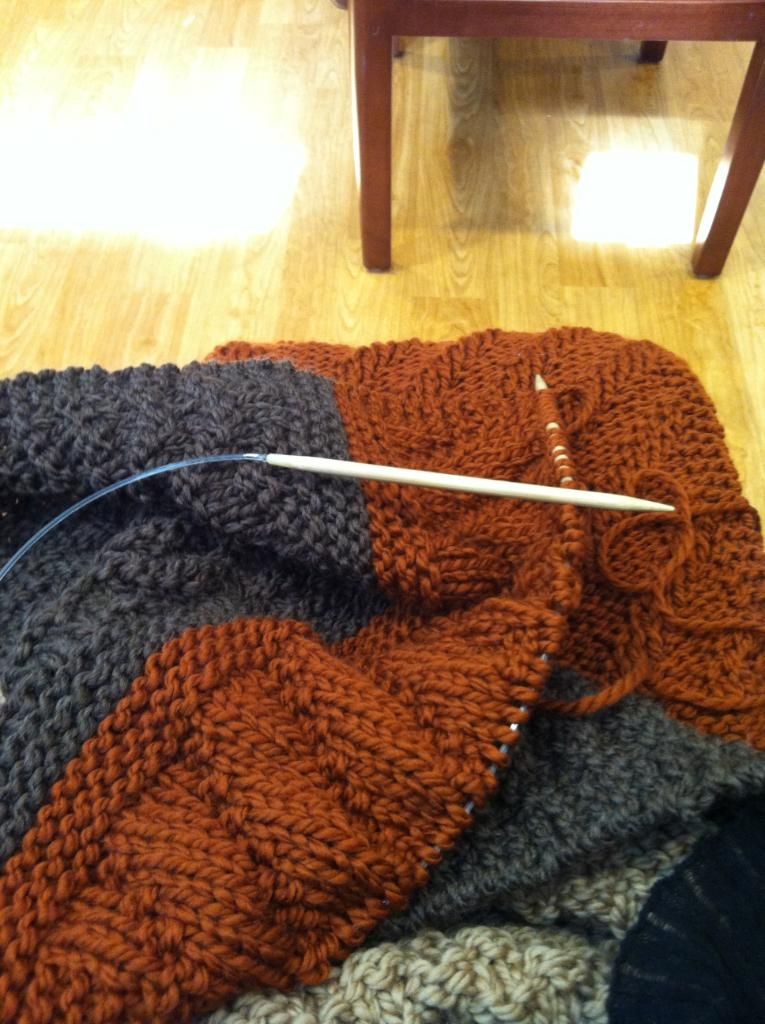
I also decided to knit many of my Christmas presents this year. I made several hats, Afghans, baby blankets etc., which really took most of my time. With all four of my children living in the Northeast I thought it was time to put my knitting skills to the test and knit them some things to keep them warm in the very cold weather.


Thank goodness that the garden and bees are doing well. A couple of weeks ago I went into the bee hives and again consolidated the combs for winter which gave me about 8 jars of honey to harvest. The hives were pretty free of pests which was one of my main concern the last few times I went into the hives. Most of the hives looked stronger; there were no ants and a few small hive beetles present. I took away any extra comb so the bees did not need to protect unnecessary space. My fifth hive which is my brood box and my best laying queen I found with several uncapped queen cells. The old queen was still present which had me confused but I left the queen cells and hopefully the next time I enter the hive there will be a new queen. As a new beekeeper I have not experienced this situation yet. There is always something to learn as a beekeeper.

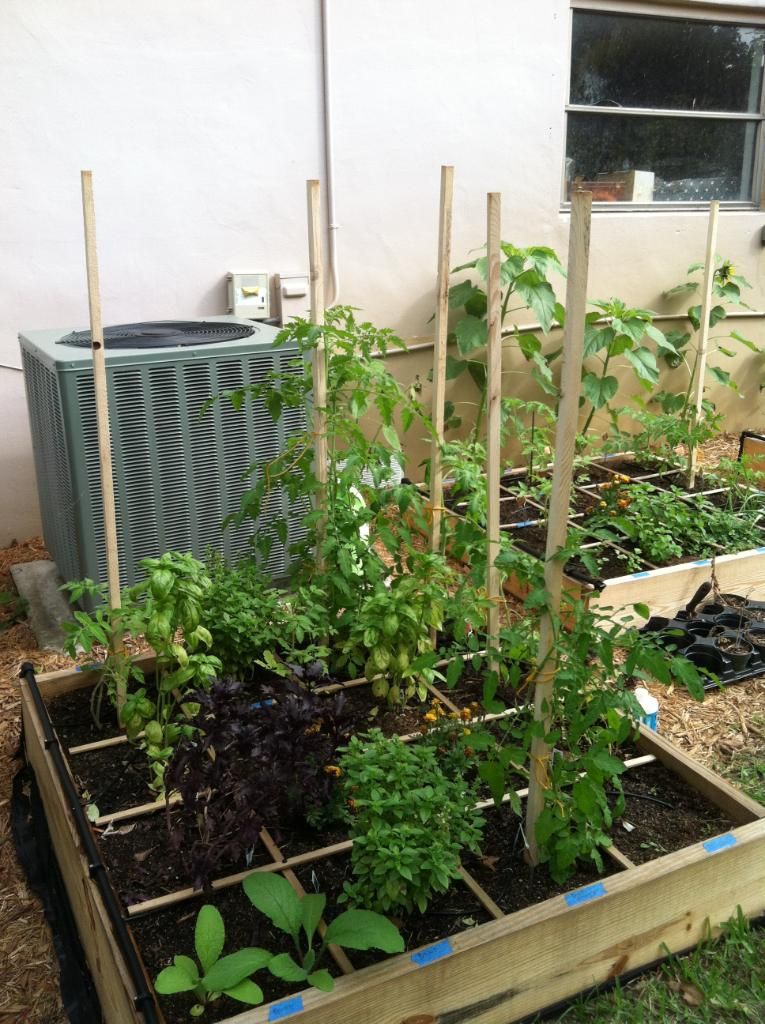
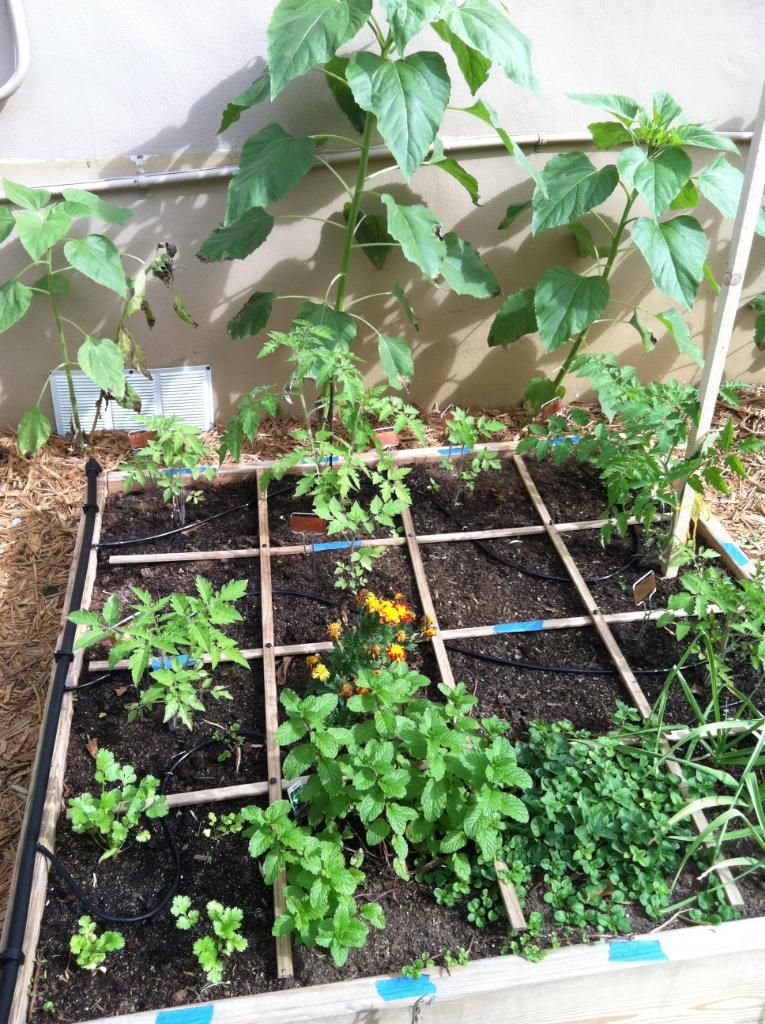
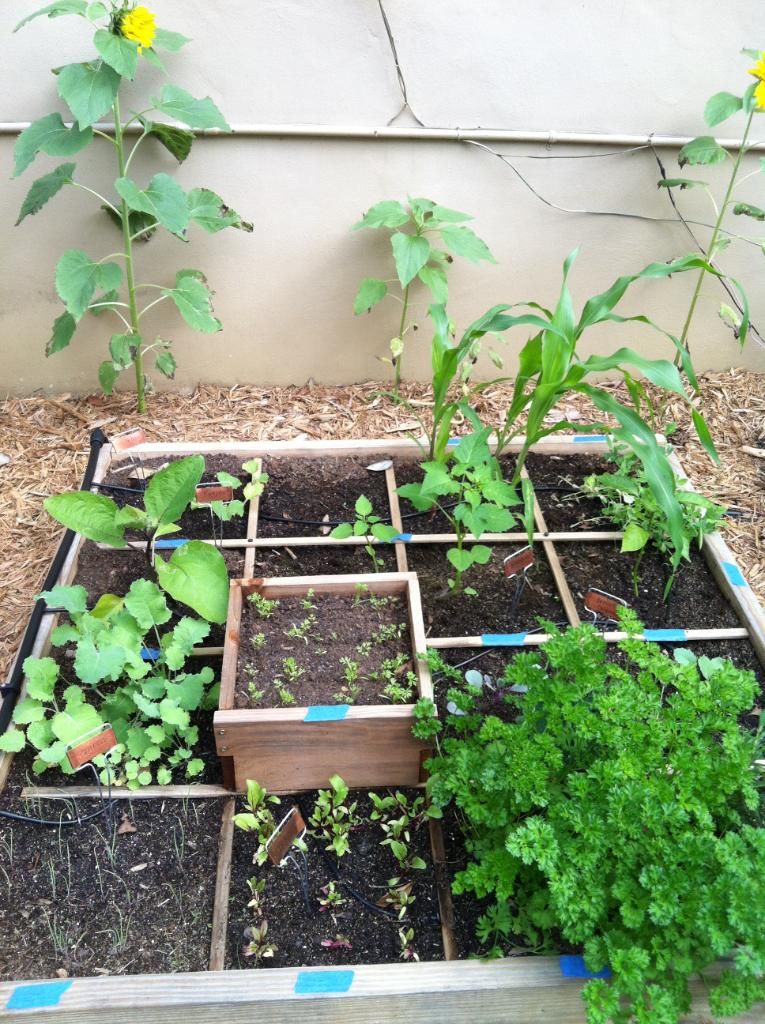
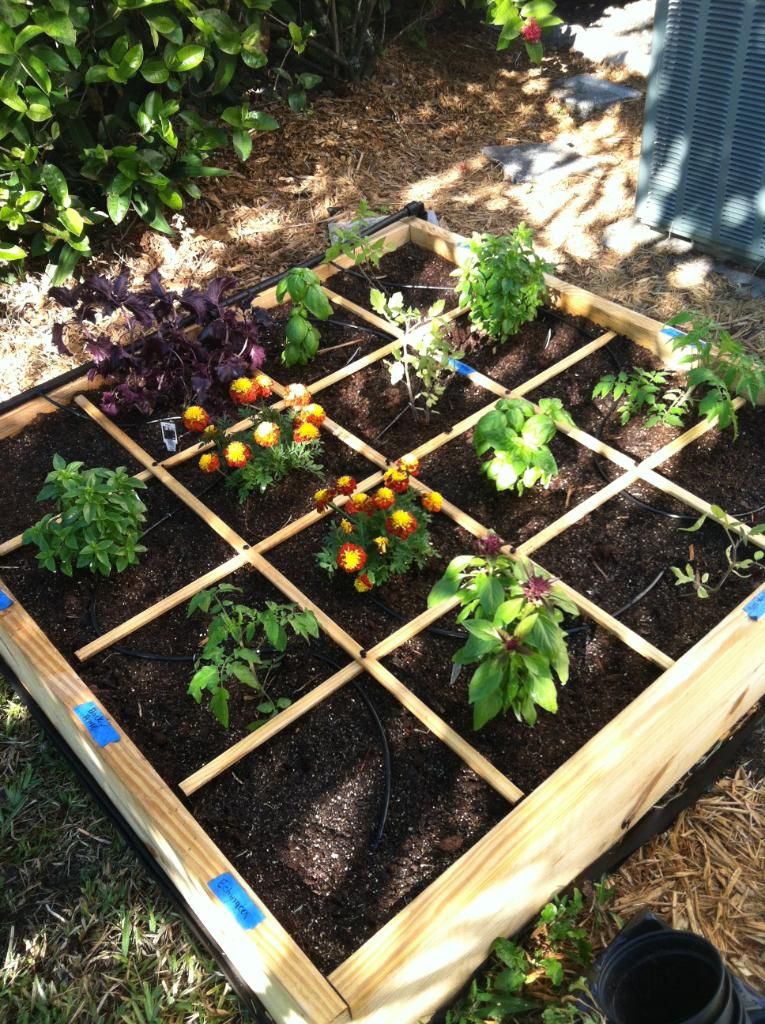
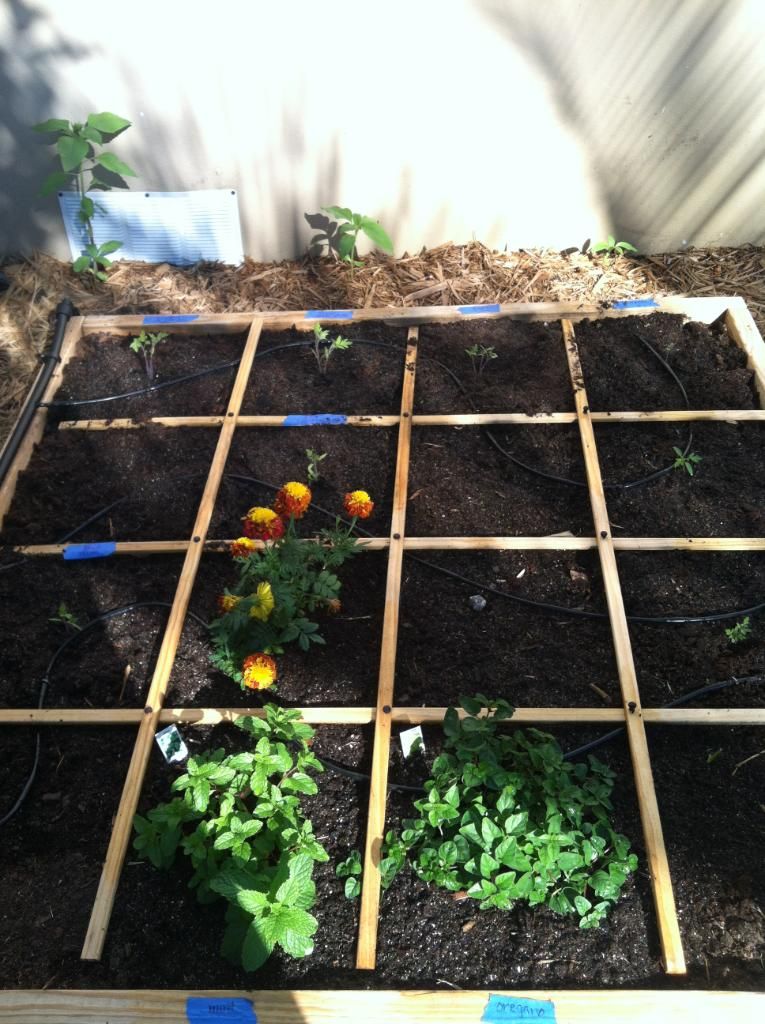
My square foot garden is growing but not as quickly as I would like. I staked some of the tomato plants for support. I have several flowers and small tomatoes on a few of the plants. The heirloom Cherry tomatoes have been slow to grow but are finally starting to make some progress. It was really nice during the holidays to be able to use several of my herbs and arugula in many of the meals that I made for my family


The next project for the garden will be building the trellis for the garden to grow vertically. The cucumbers, zucchini and cantaloupe will need support to grow. Since there is no room for the garden to grow horizontally a vertical trellis will be necessary.

Sunday, November 25, 2012

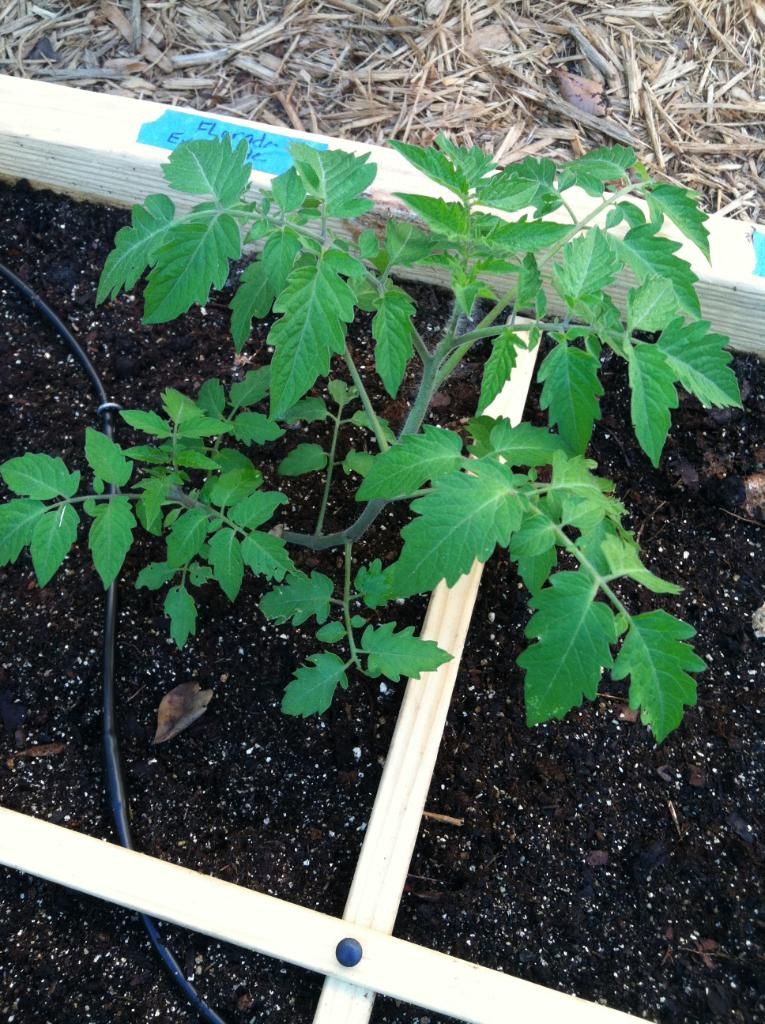
Native Wild Everglades Tomato


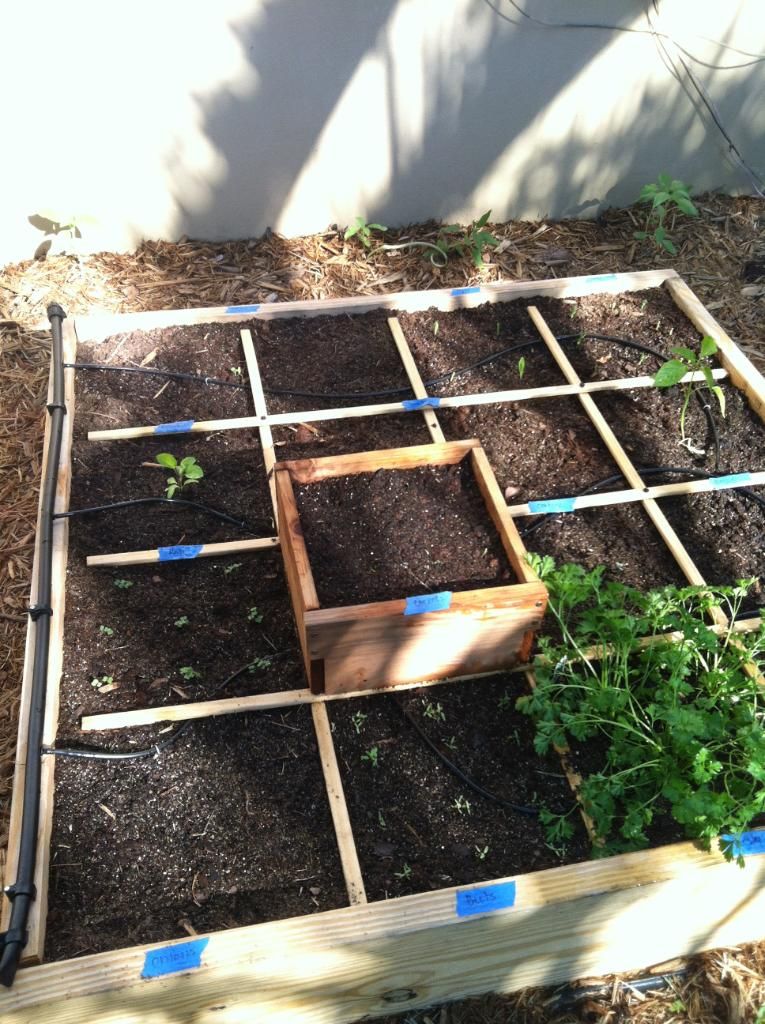
It has been a week since I planted my garden. The plants are just starting to poke their little heads above the soil. Not all the seeds have germinated but most are starting. The different lettuces were the first to appear, followed by the beets, swiss chard, broccoli, and cabbage. I go out every day (ok several times a day) to see what new addition has presented itself. Today I finished planting the rest of the heirloom tomatoes. I was a little concerned about planting them as these heirloom seem slow to grow tall. I would have liked to have seen them slightly bigger before transplanting. I hope being over anxious doesn’t come back to bite me in the butt, but I was definitely concerned about getting the rest of the tomatoes in the ground. After all, it is the end of November and the weather has been plenty cool. I think they will grow better with more soil to expand their root system.

Last week, when I went to my local nursery to get some of the herbs that I wanted to plant, I discovered they had several varieties of heirloom tomatoes. I bought two, the Wild Florida Everglades Tomato, and The Black Prince. The Florida Everglades tomato intrigued me the most as I never knew Florida had a native heirloom tomato. Obviously we do and it will grow year round here in Florida. It is an indeterminate variety with penny sized cherry tomatoes. These little tomatoes are sugar sweet, with a true tomato taste. They will grow in Florida most of the year. Seeds germinate almost 100% so you should plant only what you want to grow.

I am excited to see how well this Florida native grows and what the fruit will taste like. Here is a video that I discovered on YouTube about the Florida Native Everglades Tomato. It is presented by John Coller from http://www.growingyourgreens.com/. I have watched many of his videos. He is full of enthusiasm and is very informative. He has converted his entire property to growing edible greens and travels the country to educate and discover different plants and gardens while sharing them via YouTube videos.


Also here is a thread from “Tomatoville”, a forum for growing tomatoes; there is a discussion about the history of the Native Wild Everglades Tomato. They seem to think that they were brought to Florida by pirates from South America. It is very interesting to read the history, although it doesn’t really sound like anyone is 100% sure of the tomato’s beginnings. No matter where the tomato originated, I have now planted one in my garden and am anxious to see the results.

Here are a few pictures of the progression of my square foot garden and specifically the Native Wild Florida Everglades Tomato.

Saturday, November 17, 2012

First Hummingbird Sighting 2012

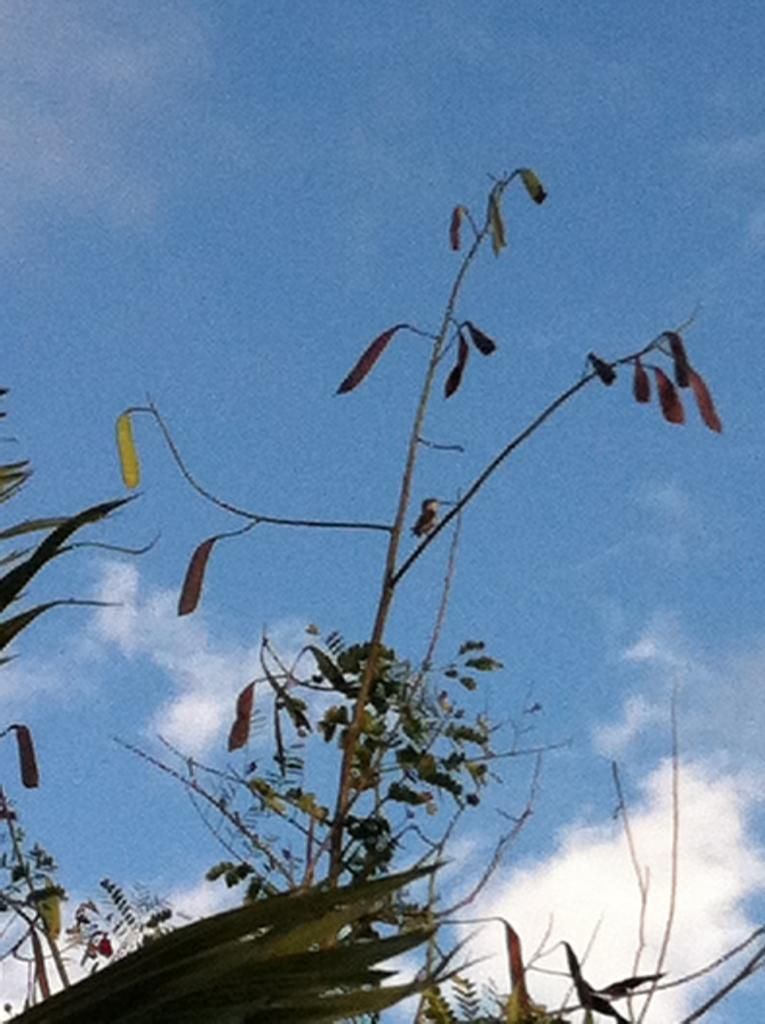
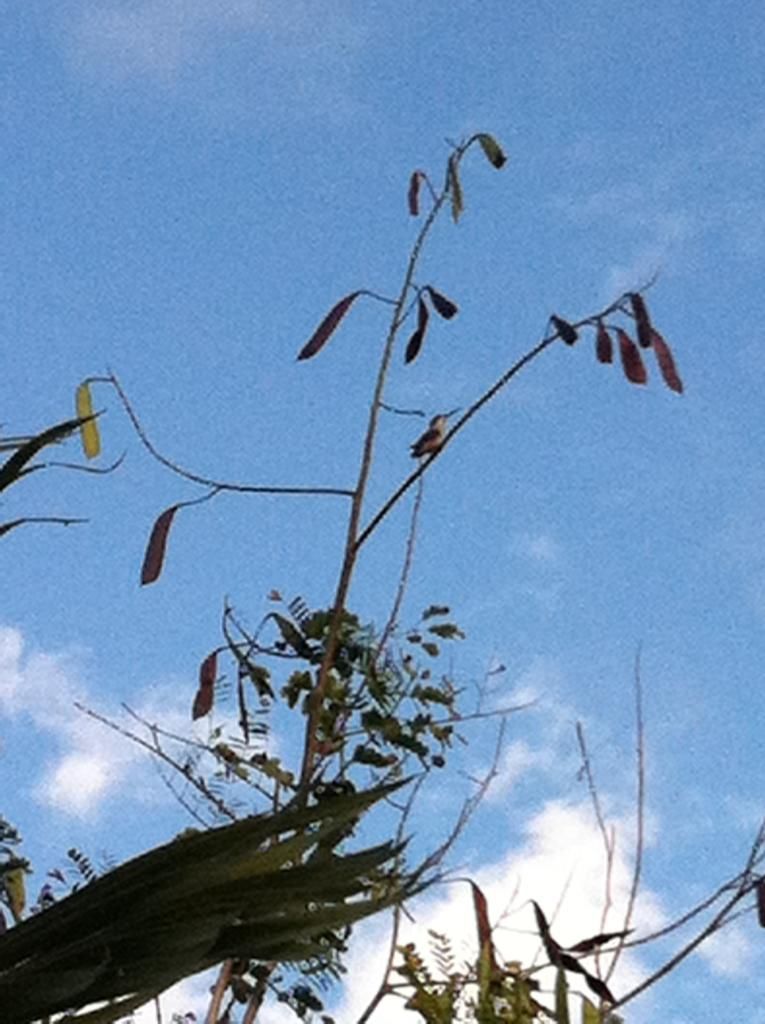
I hung my hummingbird feeders several weeks ago when we got our first cool front. My friend Inese said that she has seen several hummingbirds on her property several weeks ago, and she only lives a few blocks from me. I however did not see my first hummingbird until today. Hummingbirds have a very distinctive song and once you have heard it you will not ever mistake it. As soon as I heard the familiar sound I was able to locate my first sighting of 2012.

Hummingbirds live only in the Americas. Of the 338 species known, 16 are found in the United States and 3 occur in Florida. Black-chinned and rufous hummingbirds occasionally can be seen in Florida during the winter. The ruby-throated hummingbird is by far the most common hummer in the state. This feathered jewel is about 3 inches (7.5 centimeters) long and weighs as little as a penny (¼ ounce). Its name describes the most brilliant part of the mature male's plumage. The throat feathers contain air bubbles that give off an iridescent red tone in full light. Their backs are metallic green and they have two sets of tail feathers: two green ones in the center that cover eight outer black ones when they're folded. In females and juveniles, the black feathers have white tips; males lose the white tips as they mature.


Most Ruby Throated Hummingbirds arrive in South Florida in October and stay until May. I am surprised it has taken so long to notice one this year. I am always busy doing something in the garden, so I thought I would have seen one sooner. Today was so enjoyable because the whole time I was putting in the drip irrigation system several hummingbirds were fluttering over my head enjoying the different sources of nectar plants that I have in the yard. Just like my butterfly garden I have been planting for hummingbirds for many years. I have so many different nectar sources for them to choose from. Red is by far their favorite color. They are most attracted to red. Today the hummingbirds were flying from the oak tree in the front yard over to the clerodendruim, and dwarf poinscianna. It was a constant path where I am putting the raised bed vegetable gardens, and drip irrigation. It was almost like they were saying, “Here we are, we are back for you to enjoy!” It is truly amazing to watch how quickly their little wings flutter. One year I was able to watch a hummer every evening roost way up in one of my neighbor’s trees. He was always there and a constant source of enjoyment in my yard.


Whether or not you see any hummers anytime during the year in Florida depends on if you have food and shelter to offer them, and how long it takes for them to find you. I am a firm believer that if you plant it, they will come! Well-kept feeders are another very enticing way to attract them. Having both feeders and nectar plants as well as large trees for shelter are some of the necessities they will be looking for. If you have a good habitat, you may very well host one or more winter hummers that will hang around your area and frequent your yard for a season or two.

Hummingbird feeders are a great way to attract the birds to your yard. I make a solution 4:1, 4 parts water to 1 part sugar. It is important to make sure you change the solution every 3-5 days, which is sometimes difficult to do. I noticed that my bees have discovered my hummingbird feeders. The hummingbirds will continue to feed despite the bees, unless there are too many. Most hummingbirds are very territorial and usually you won’t see several feeding from one feeder at a time. I don’t like that my bees are drinking from the feeders. Sugar water, although they are very attracted to it, is not the best thing to feed your bees. As an organic gardener and beekeeper I never feed my bee’s sugar water. If I had to feed them I would feed them honey. Thank goodness that in South Florida there is usually a nectar source for the bees year round. There may be some times of dearth but it is usually very short and in the heat of the summer. I digress, but bees have a memory like an elephant. They never forget. Once they discover a nectar source, whether it be a plant or sugar water, they will return until you move it. I am thinking the next time I change the sugar water I need to change the location of the feeders to confuse the bees for a day or so until they discover where I move them too.

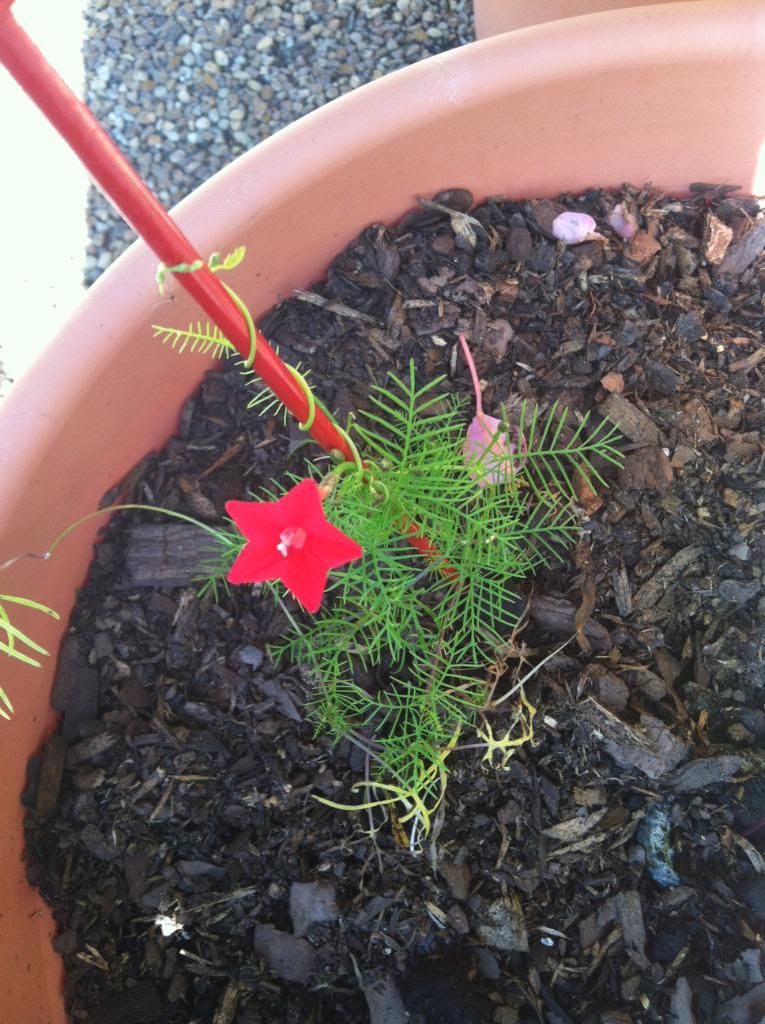
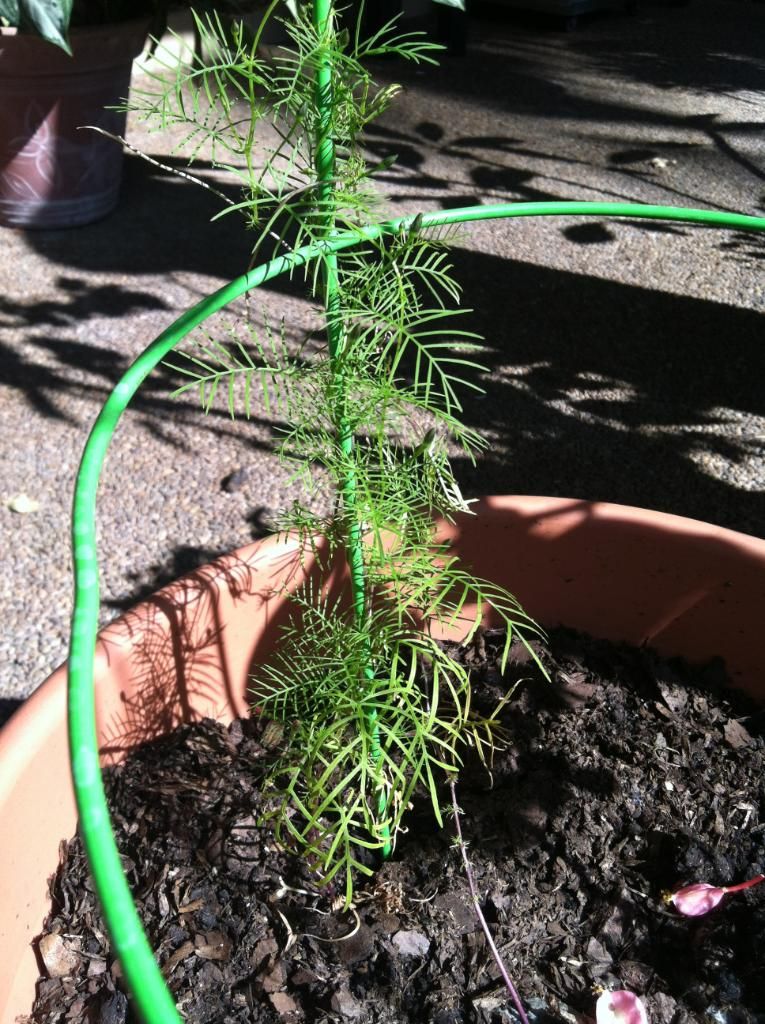
Some of the plants that I have to attract the hummingbirds are: Fire Bush, Fire Spike, Native Coral Plant, Lantana, Justicia, Powder Puff Plant( red and pink), Dwarf Poincianna, Shrimp plant, Butterfly bush, Clerodendrum, pentas; I could go on and on. I just planted this year’s Cardinal Vine. I read about it from Margaret Roach, “A Way to Garden” . The plant originates in Mexico, so I decided I would try planting it in my garden. It had a beautiful red flower on it this morning. I am hoping that as it grows it will attract lots of hummers.


One of the best reasons to plant a hummingbird garden is that once you attract them, many of the birds will return the following seasons. I look forward every year to that first sighting, and enjoy having hummers in my garden throughout the winter.

Putting In a Drip Irrigation System

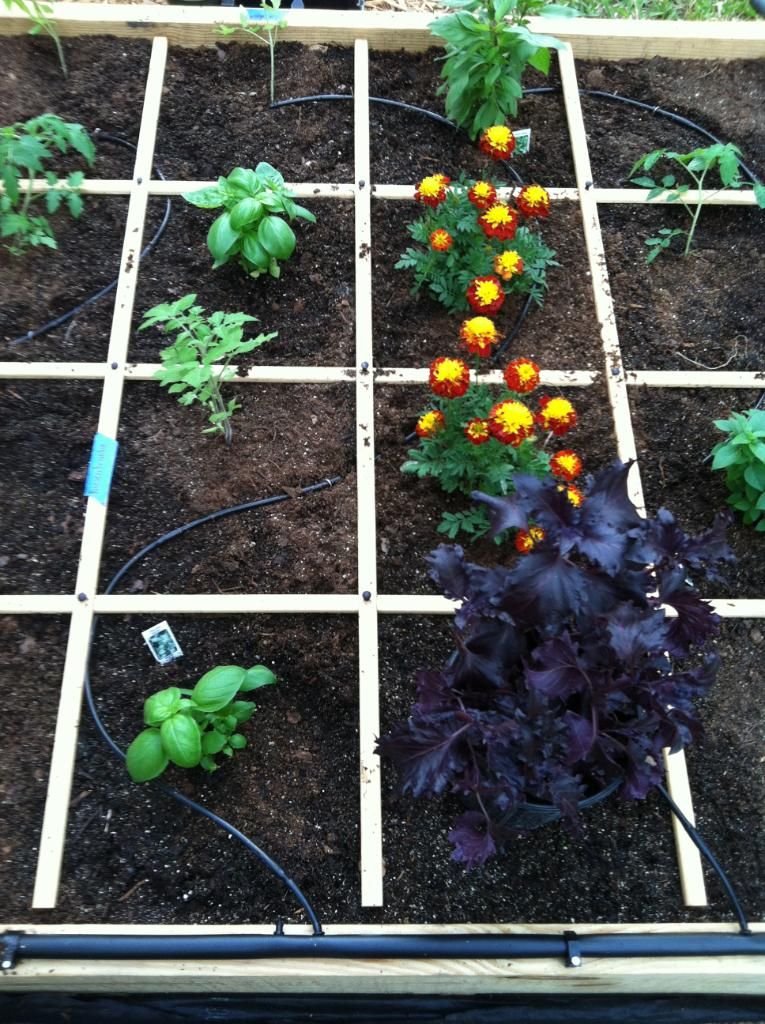
I decided to put in a drip irrigation system for my raised bed vegetable garden. It will make life easier for many reasons. Drip Irrigation is a watering method which delivers water to plants slowly and right where they need it... at the roots. Where typical pop-up sprinklers spray water into the air and onto plants, drip irrigation systems combine flexible poly drip tubing and drip emitters or "drippers" to both conserve water and save money. Drip irrigation is a great way to conserve water and only delivers water right to the roots where the plant needs it. Drip irrigation systems are not affected by wind and will greatly reduce evaporation and runoff common with traditional irrigation systems. Drip irrigation is the perfect solution for raised vegetable garden beds, hanging baskets, and potted plants. Drip irrigation is the most efficient method of irrigating. While sprinkler systems are around 75-85% efficient, drip systems typically are 90% or higher. What that means is much less wasted water! For this reason drip is the preferred method of irrigation in the desert regions of the United States. But drip irrigation has other benefits which make it useful almost anywhere. It is easy to install, easy to design, can be very inexpensive, and can reduce disease problems associated with high levels of moisture on some plants. When I visited Albuquerque NM, earlier in the year, most gardens were watered by drip irrigation. Obviously in Florida where water is abundant, drip irrigation may not be totally necessary, but for raised bed gardening, it will make my life so much easier and also reduce the disease associated with high levels of moisture that we always have here in Florida. As a sustainable organic gardener I am constantly aware of my use of resources. Water like I said, although abundant in Miami, should not be wasted. Drip irrigation is one way of conserving water.

I ordered my irrigation system from http://www.dripworks.com. After searching the web I decided to go with this company because I have been watching “The Garden Girl TV” videos, which is how I found the “Square Foot Gardening Method”. My husband and I sat one evening and planned out the whole system for our vegetable garden. The Drip Works website was very helpful and there were many videos and resources available to plan your drip irrigation system. They even showed you suggestions of different systems so you could best fit an example to your garden. I meticulously planned out each part and connection and placed the order. I was nervous that I might not have ordered enough connectors and parts, but knew that we did a thorough job making sure we ordered appropriately. Here is a video from the Garden Girl on installing a drip irrigation system. I watched this video several times and printed out my plan as a guide. It helped tremendously.


I wasn’t able to put the system in last weekend, and I have been concerned that I am a little late in planting some of my vegetables. I had to go up to Boston, as my son Drew had meniscus surgery. He did fine, really didn’t want to leave him but I needed to return to work and life. I didn’t want to rush putting in the drip irrigation last Saturday, so I waited until today. I really couldn’t start planting because I didn’t want to disturb the seedlings putting in the system. I stopped by my local nursery yesterday and they have gotten in all their garden vegetable plants. According to them this is the perfect time to start planting, and I have read that it is important to wait just a little bit in Florida to have had at least 2 cool fronts, which we have had. In fact, the weather has gotten much cooler with most nights in the 60’s.

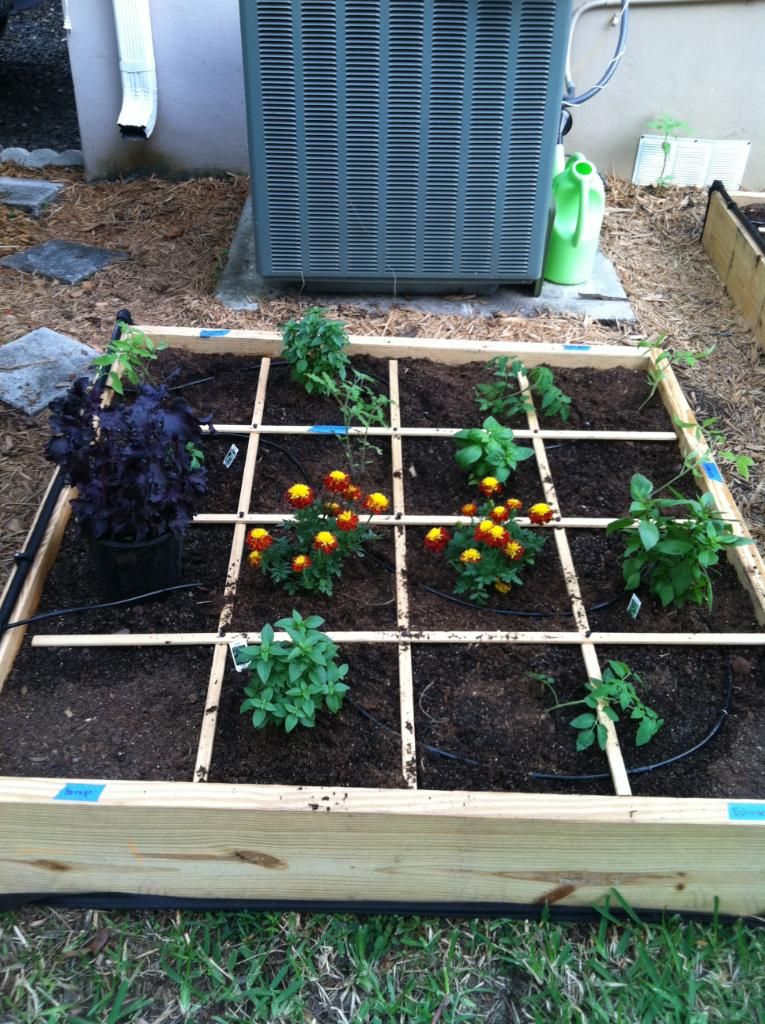
Putting in the system really wasn’t difficult at all. The hardest part was inserting the transfer barbs from the ½” tubing to the ¼” soaker hose. My fingers are really sore from connecting all the different parts. I still have one more box to add the soaker hose but my fingers needed a break. Tomorrow is another day. Here are a few pictures from today, really not as bad as I anticipated, in fact very easy. I haven’t really talked about cost but putting in a drip irrigation system is very economical. This is a picture from the web. My emitters are actually 6” apart.


So finally tomorrow is the day I start planting!! I can’t wait! I’ve chosen all my seeds carefully each being Heirloom, (not GMO or Hybrid) and I’ve reviewed the instructions for each plant. I am soaking a few seeds. That will help with germination. I think I have revised my garden plan numerous times, with many considerations for sun, water, companion planting etc. Tomorrow I am going to my local nursery to pick up a few of the herbs, like parsley, rosemary, oregano, arugula, mint and basil.

Let the planting begin!!

Saturday, November 3, 2012

Preparing a Square Foot Garden Part 2

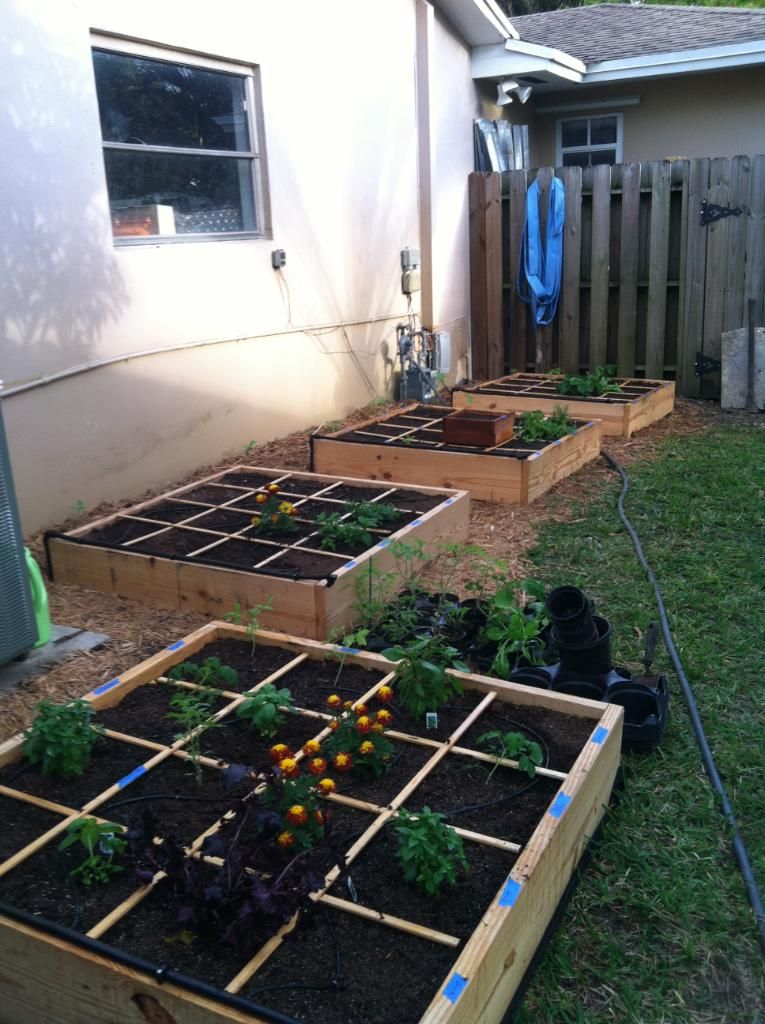
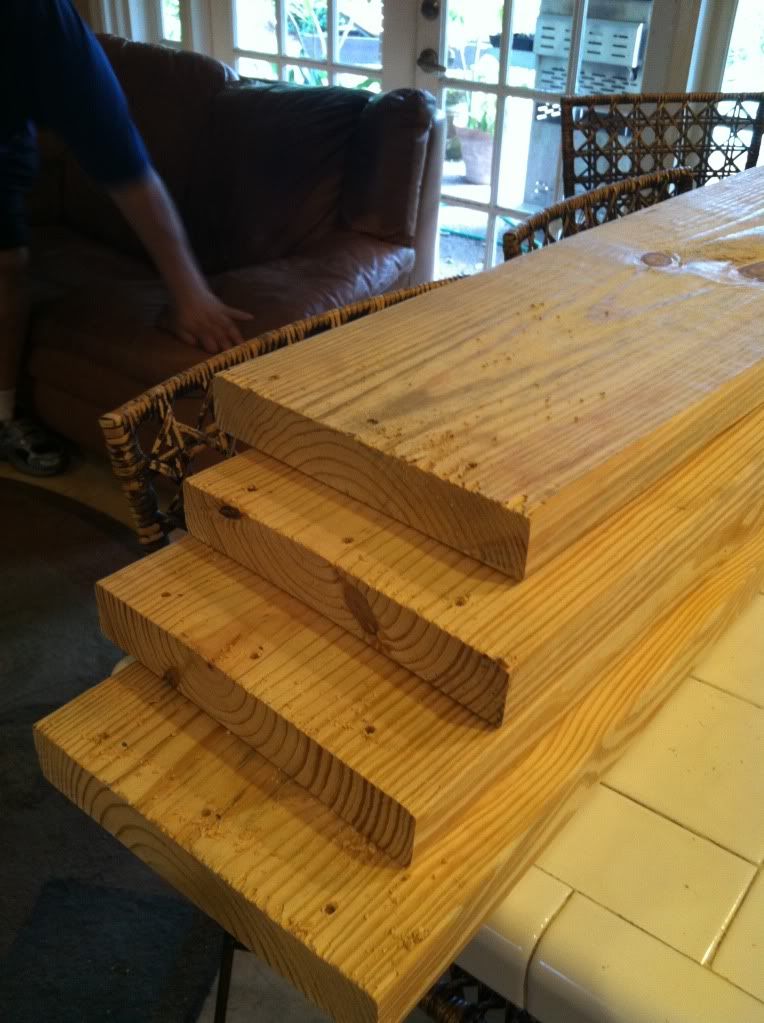
I am still in the preparation mode for my square foot garden. Last weekend I decided that I needed one more 4x4 raised bed to house my tomato plants. I think I got a little overzealous with the heirloom tomatoes. I have 11 different varieties: Floridade, Beefsteak, Riesentraube, which I found out, is Margaret Roach’s, “A Way to Garden” favorite tomato. I got this variety for free from the Baker Creek Heirloom Seed Company and had no idea what type of tomato it was. Riesentraube actually means giant grape. I also have Black Plum, Hawaiian Currant, Yellow Pear, Super Snow White, God Love, Coyote, Isis Candy Cherry, and Grandpa’s Minnesota, which are all heirloom cherry tomatoes. That is a lot of tomatoes. I have watched a lot of videos about planting tomatoes and I was concerned that planting a tomato plant in 1 square foot would really be crowding them. So I have decided to give them more space and therefore built an extra box.

I have recently started exercising again and have been watching my diet very closely. I think they call that a life-style modification, as opposed to diet. Well Cherry tomatoes have become my new best friend. They are so sweet that they actually satisfy my sweet tooth. Crazy right!

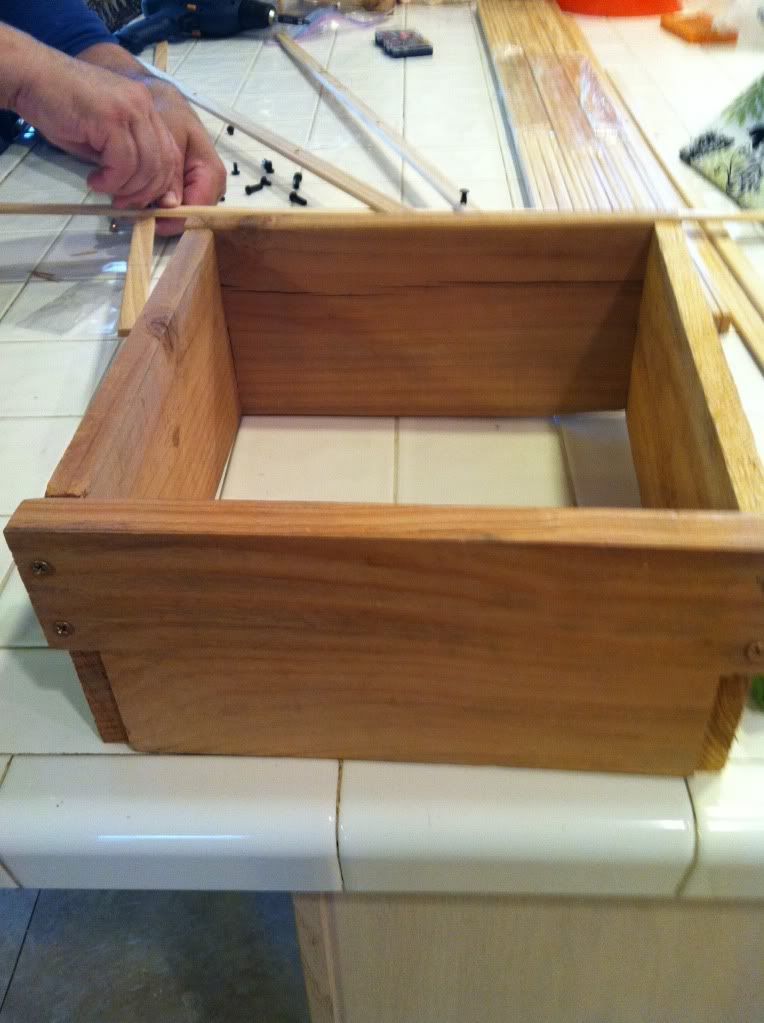
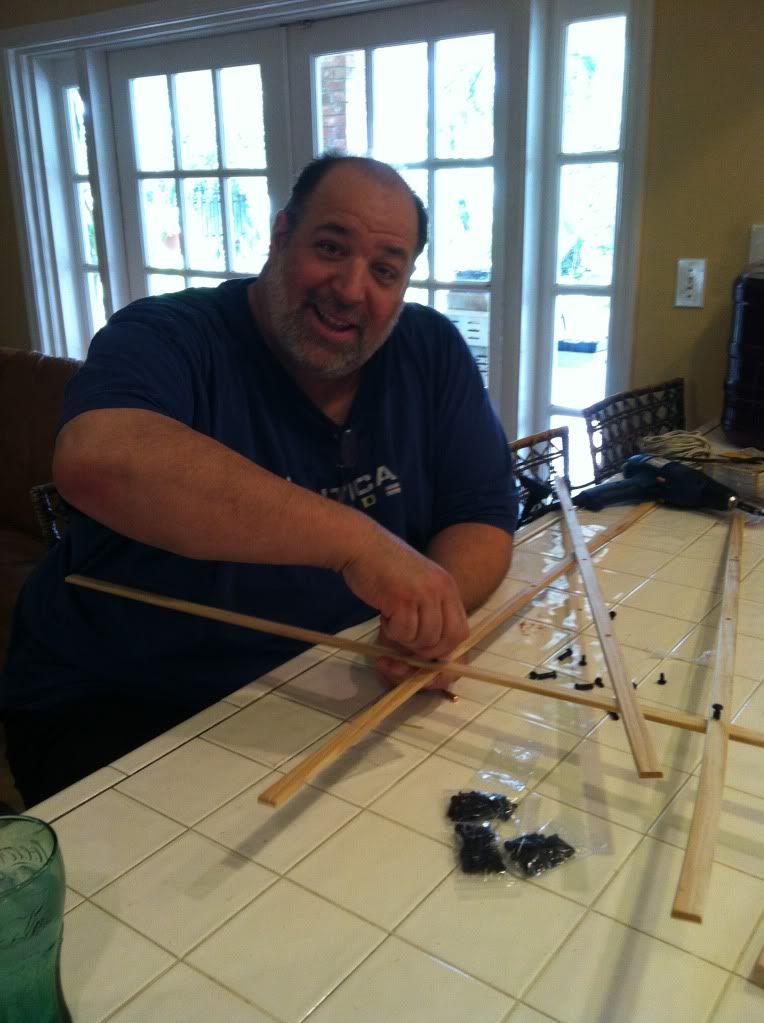
I put together the carrot box that will sit on top of my grid. This will make the depth of my soil deeper for the carrots. I also put together my grids that will sit on top of each 4x4 garden. My husband Dave was a huge help as he helped me with the boxes, mixing the dirt and putting together the grids. I couldn’t have done this project without him!


I have been mixing the soil (Mel’s Mix) which isn’t difficult but time consuming. The soil is probably the most important aspect to any garden. It really will make or break how well your plants thrive. I also mulched around the boxes and planted some Sunflower seeds to add some color to the garden, distract from the ugly wall of my house, and hopefully attract some pollinators to my vegetable garden. I wish I was an artist because I would paint some beautiful Sunflowers on the wall of the house.


Here is a video I think really explains Square Foot Gardening (SFG). It is very concise, but says it all!


I found an awesome website while I was watching videos on You Tube about Square Foot Gardening. It can be found at www.growveg.com. It is a great program to actually plan your garden; they even have an “app“for your iphone. There are tutorial videos so you can figure out how to work the website. It really is very user friendly. Here is my plan below. The nice thing about the website is that you are able to go back into your plan and make adjustments, which I have done several times. You are able to plot where you want each plant; you can even keep notes on each plant as far as variety, and specific growing instructions.

http://www.growveg.com/garden-plan.aspx?p=316616

So how did I decide where to plant each plant? Well first of all I considered spacing, which is what Square Foot Gardening is all about. I wanted to give the taller plants and vineing plants more room. It says to plant tall plants on the North side of your garden as to not shade your smaller plants. I actually tried to keep most of my taller plants in the back of the garden. I plan to build trellises to support these taller plants on the back of each box. Another important consideration in plant placement is Companion Planting. Companion Planting is planting plants together that may compliment or help each other. For example have you ever heard of the “Three Sisters?” The Three Sisters is a Native American tradition. After all the American Indians were our first gardeners. The Native Americans believed that corn, beans, and squash are the three inseparable sisters who can thrive only when raised together. Corn provides a natural pole for the beans vines to climb, while the bean vines help shore up the corn stalks and leave behind nitrogen for the soil. Spreading squash shades the bed from weeds and keeps the soil moist, and all three plants create rich compost after the harvest. Corn, beans, and squash not only complement one another in the soil, they also complement one another nutritionally. Corn provides carbohydrates; beans are rich in protein, and squash offer vitamins from the fruit and nutrient-rich oil from the seeds. Native Americans shared their Three Sisters planting system with early European settlers and taught them to recognize the signs that it is time to plant. Speaking of the Indians I received several Seminole squash seeds from Richard Campbell the curator of Fairchild Botanical Gardens. These seeds are actually from the Seminole Indians. The Indians used to girdle the Oak trees which would kill them and allow the squash to utilize the tree as a trellis and allow the squash to grow up the oak tree. There is an excellent article in the magazine “Edible Miami” written by Richard Campbell about the history of the Seminole Squash. I was very pleased to receive these seeds, and planted them next to my fence line so they could use the fence as a trellis.

So in planning my plant placement I will be planting my corn next to my squash. I didn’t choose to grow beans but I am sure that the corn and squash will be good together. I tried to plant aromatic plants in the same bed as the tomatoes to deter pests. There is a great book by Louise Riotte “Carrots Love Tomatoes: Secrets of Companion Planting for Successful Gardening.” Information about Companion Planting is also on the garden planner www.growveg.com.

I finally have all the dirt in all four boxes and the grids in place. I am waiting for my drip irrigation system to arrive. This will make watering so much easier and hopefully make my plants thrive and keep them free from pests. I look forward to planting in the next week or so, as soon as I have the drip irrigation system in place.

Visit My Website:
CLICK HERE

Or Visit My Etsy Shop:
CLICK HERE