How I Got Started

I started Butterfly gardening many years ago. My yard has been a progression over the years, and has made many transformations. Twenty years ago I experienced Hurricane Andrew. My yard and house were destroyed. We decided not to replace the pool screening and open up the backyard and put in some landscaping. That was the official beginning of my love for gardening in South Florida. I added a beautiful water garden years ago, and have been adding host and larvae plants for pollinators, mostly for the butterfly, for as many years as I can remember. I had my yard certified as a Natural Habitat, through the National Wildlife Foundation. To have a natural habitat you need to provide and meet certain requirements: 1. Provide a food source, 2. Provide a water source, 3. Cover, 4. A place to raise young. I try not to use any pesticides in my yard. I vermicompost and recycle as many of my food scraps as possible. If I had more land I would have a huge compost bin to recycle all my yard cuttings. Basically, I try to lessen my carbon footprint on this earth. In my own little world or backyard I try to provide an ecosystem in my water garden, provide birdbaths, birdfeeders, hummingbird nectar sources, feeders, puddling areas, host plants and nectar plants for butterflies and other pollinators. I am hoping to raise everyone’s awareness of the importance of saving our Butterflies, Blooms & Bees. Without them our world and food source will be in trouble. I hope you all enjoy my journey. I am not a Master Gardener, or Master Beekeeper, an Entomologist, or Journalists. I am simply a Backyard Gardener who is trying to lessen her Carbon Footprint of this Earth.

I hope you enjoy my blogs.

Tuesday, July 17, 2012

New Additions to the Garden

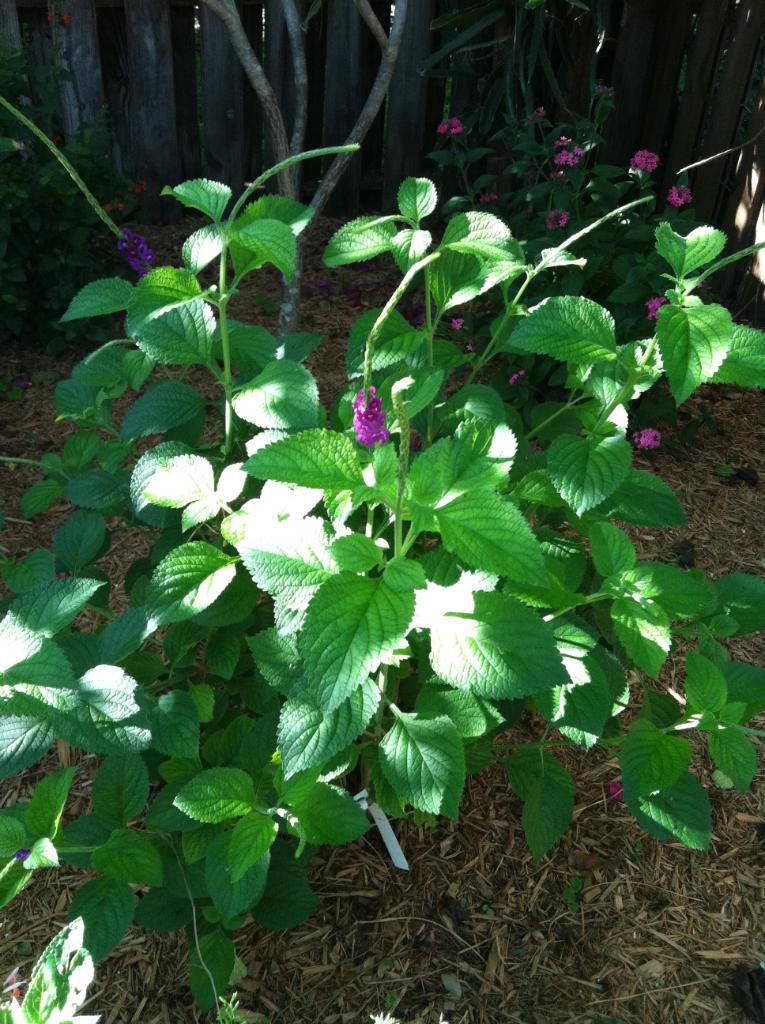
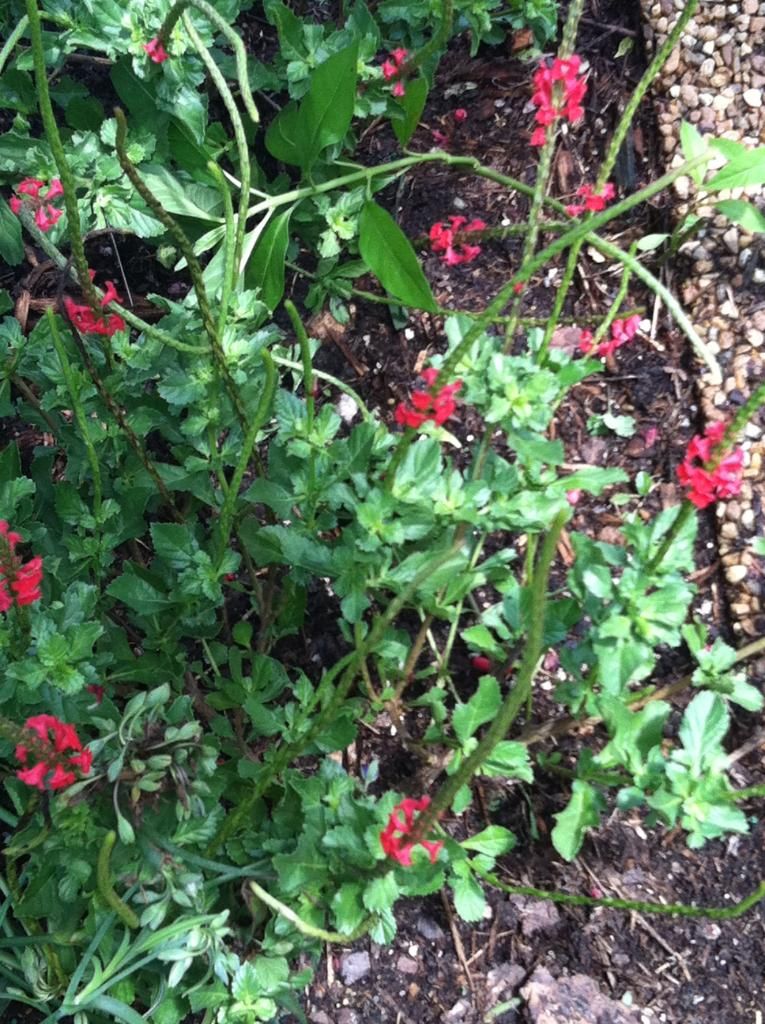
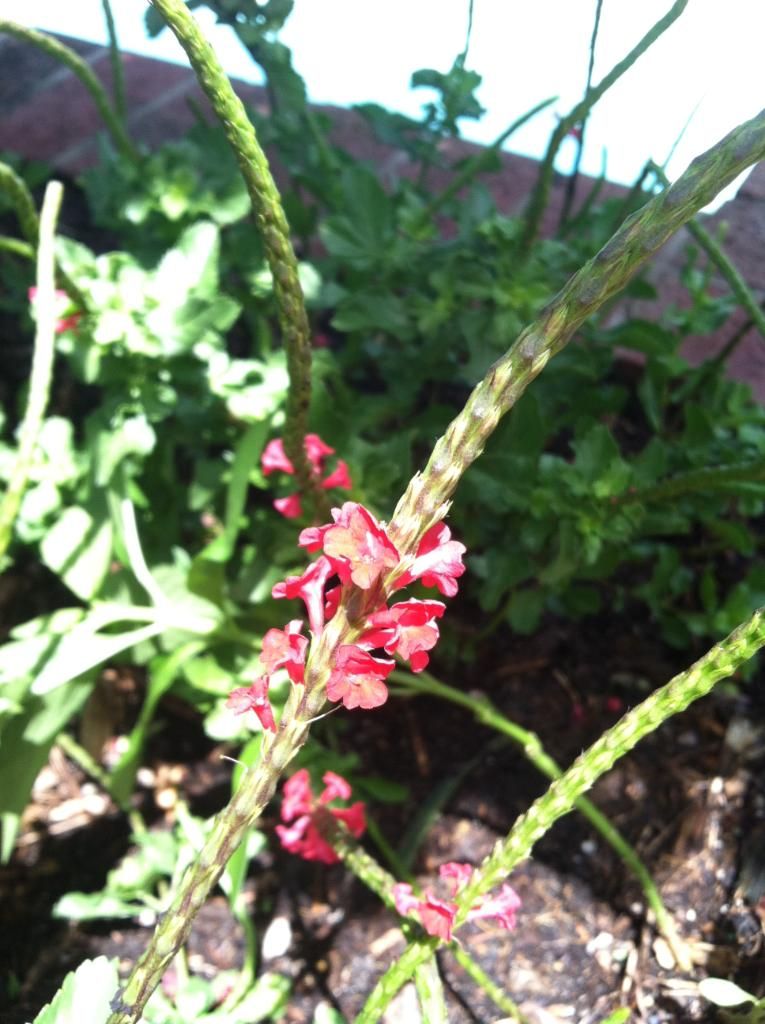
I bought some new plants for the garden to replace a few that needed some help. I had planted some Lavendula multifida canariense (California Lavendar) which is a type of lavender that grows here in Miami, that is until it just gets too hot and rainy for them to thrive. I love lavender so much that I will plant them for the few months that they can handle our climate just for the shear enjoyment of the plant. I know that they will not last long but I love their smell and beauty. I replaced them with a Florida Native Red Porter Weed. I saw some at Home Depot and I didn’t have any of the red variety so I thought it would be a great addition to my garden.


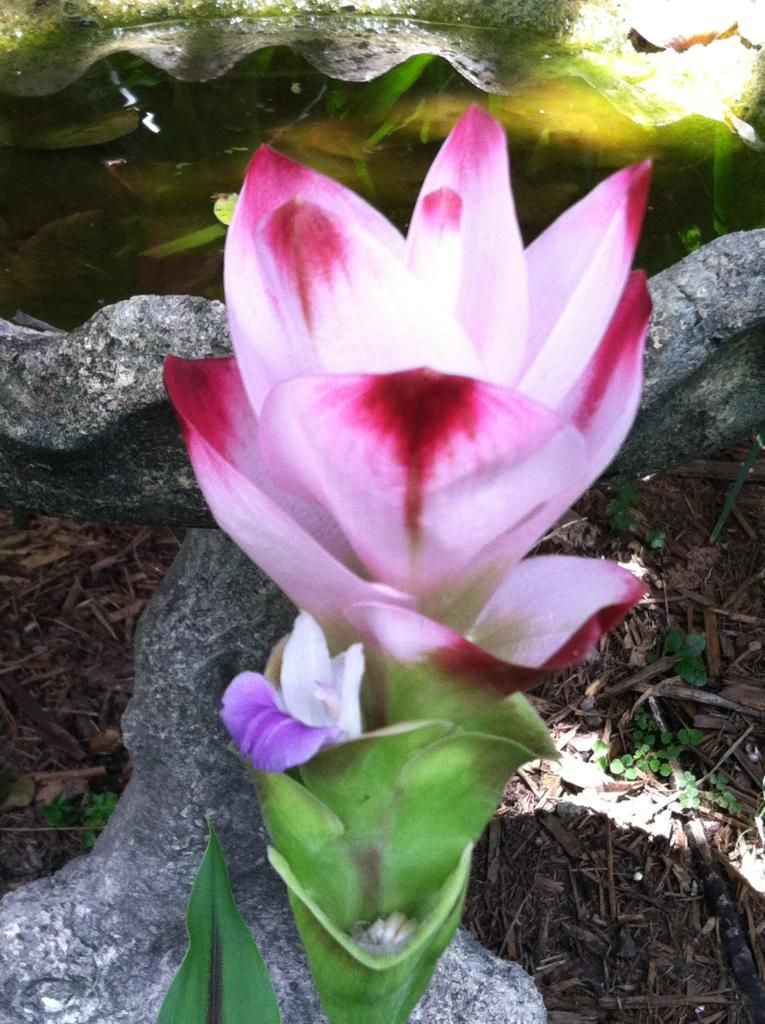
The second addition to the garden is a lovely Siam Tulip (Curcuma alismatifolia). It actually isn’t a tulip at all, but a ginger (Zingiberaceae). In addition to the lovely pink blooms if you look closely at the picture you will see that there is a lovely little violet that emerges from the bracts that adds so much charm to this flower. The Siam Tulip will go dormant in the winter. It will tolerate plenty of light but no direct sun. Without question it loves humidity and should be kept moist, perfect for our Miami environment.


Sunday, July 15, 2012

Marvelous Mangos

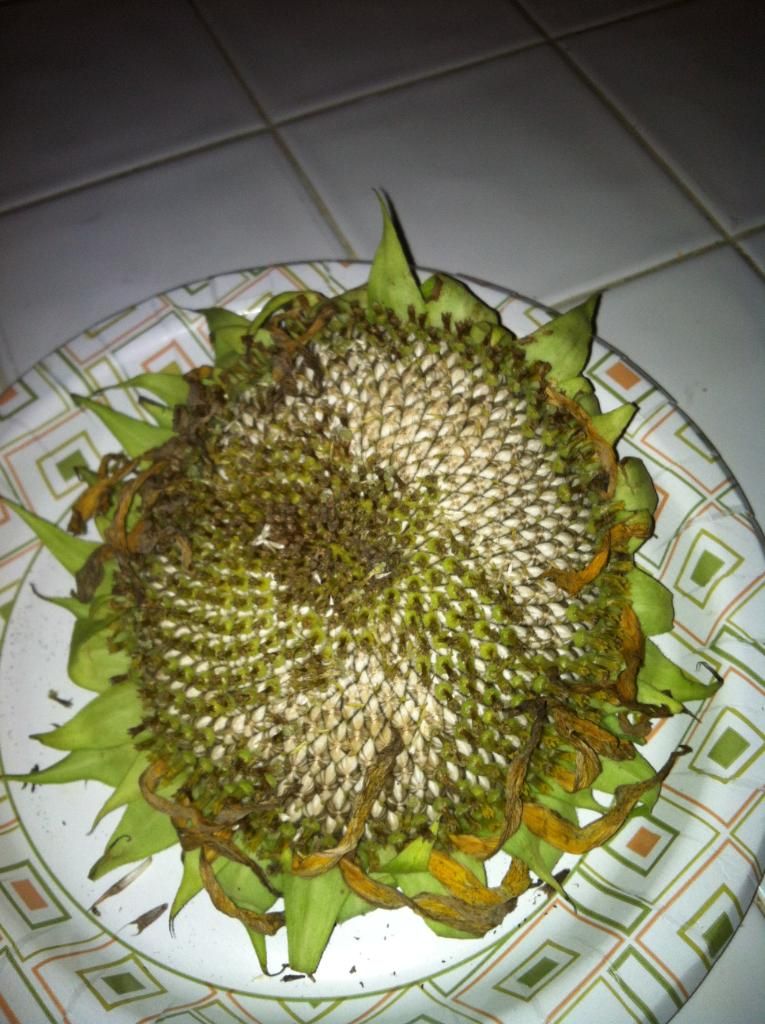
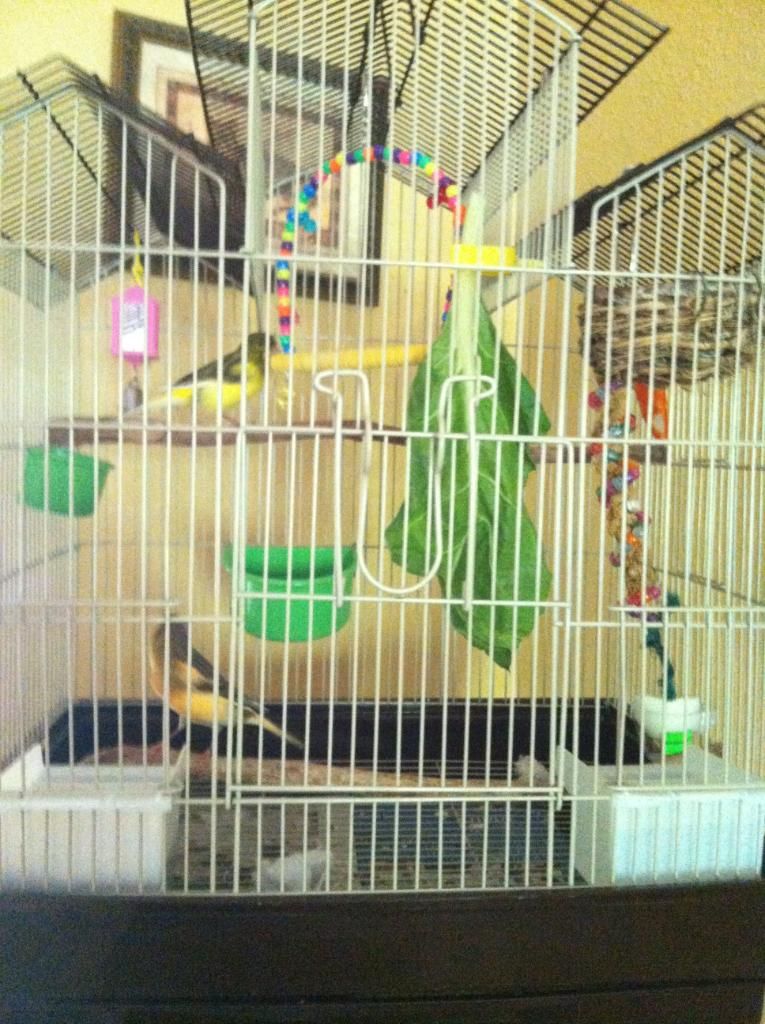
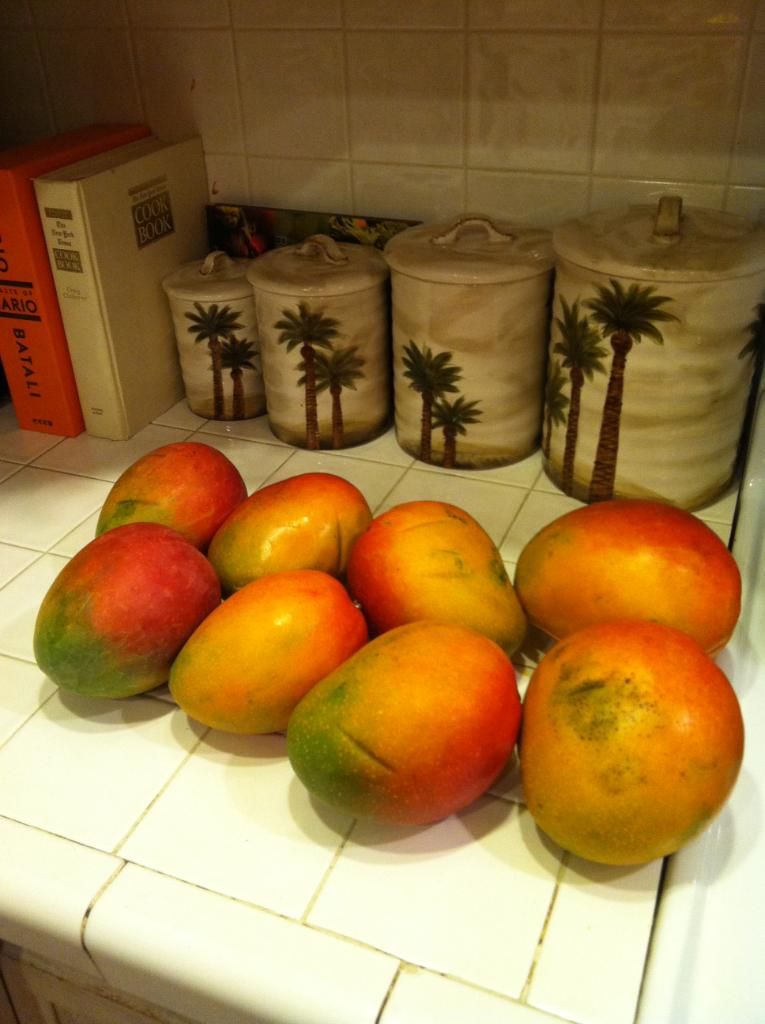
It is hard to believe but I am still enjoying Florida mangos. My favorite mango which is the Florida Red is now available. This weekend was the Mango Festival at Fairchild Gardens. I didn’t end up going because the weather was very rainy and I had to go up to West Palm Beach, Florida to see my family. My brother and his girlfriend, Rose, from Norway were visiting and I had never met her. I got to visit with my mom, and sister, and my niece and nephew. My little nephew is like a child prodigy on the electric guitar. He is really amazing and plays every Saturday night so we all stayed to watch him. My brother brought me two canaries to add to my animal menagerie. He also brought me a beautiful Sunflower full of seeds to add to my garden. I brought him some seeds from my Mexican Sunflower. I also made my delicious Mango Salsa for everyone to enjoy.


Mango Salsa Recipe

1-2 mangos diced Red onion diced Cilantro to taste Juice of lime 1 tsp Chile powder Serve with nachos

While I was up there I went to a brew and wine making store “Bx Beer Depot.” http://www.bxbeerdepot.com/. I needed to get several items before I started my mango wine. My local brew store in Miami doesn’t have the supplies stocked and I would have had to order them, so I thought while I was up seeing my mom I would check out this shop. It was really nice and well supplied.

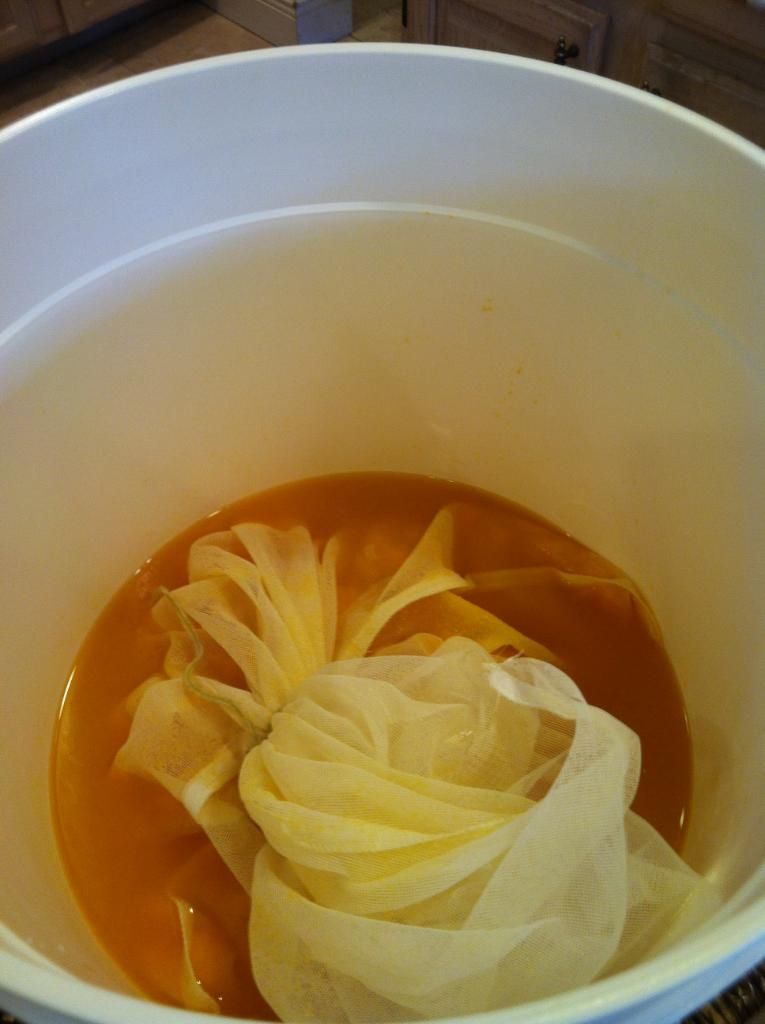
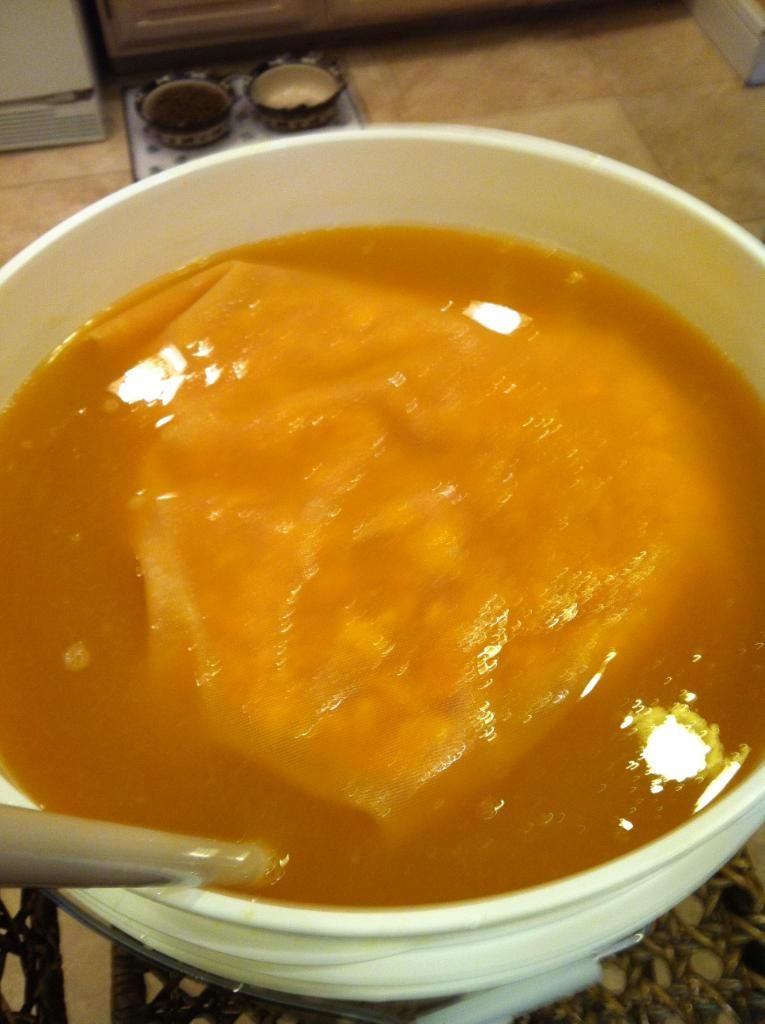
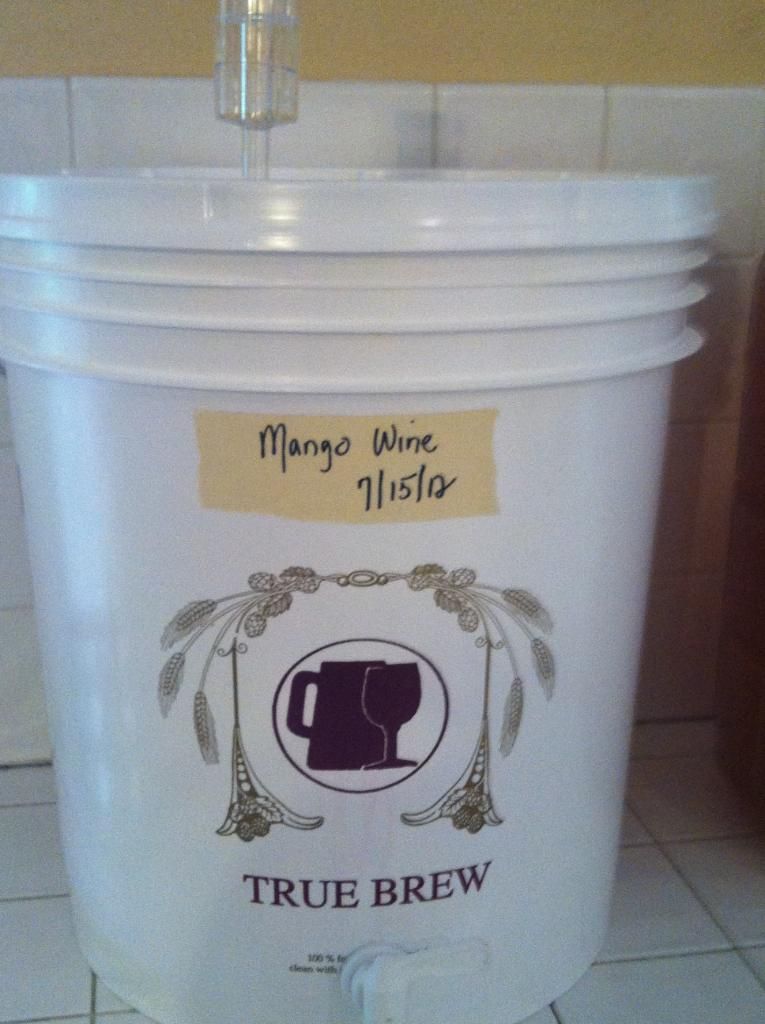
My husband and I made the Mango Wine with very little difficulty. We started with 26 lbs of mangos, which I had frozen in the freezer for the last week. Freezing actually helps to break down the cell wall. The fruit produces more juice when frozen. I purchased a very large nylon straining bag to put all the mangos into. I added water and sugar until my specific gravity reached 1.085. I actually heated some of the water to dissolve the sugar and then poured that over the fruit in the primary fermentor. I added several chemicals to the “Must.” The Must is the solution of fruit and sugar and water which you then add your yeast to. I actually “pitched” my yeast this evening, 24 hours after I made the Must. That is because I added Campden which is used to make sure that there are no wild yeasties growing in the fruit that you add. When you “pitch” your yeast you sprinkle it into a small bowl with lukewarm water and let it sit for about 15-20 minutes then you stir it gently. Remember yeast is alive and it multiples very quickly so that when you add it to your Must it helps create a very active and rapid fermentation. Over the next 10-12 days or longer I will stir my Must several times a day until my specific gravity drops anywhere from 1.020-1.040. Eventually I will rack my Mango wine from the primary fermentor to the secondary fermentor. I will do this several times until I clarify the wine and possibly back sweeten it before bottling. This process of racking to bottling could take 6 months to a year before we have drinkable Mango Wine! What a process!! It is so much fun when it is complete and we finally get to drink some delicious Mango Wine!

Mango Wine (5 Gallons)

20-24 lbs of Mangos Approximately 9 lbs of granulated sugar or amount to get starting specific gravity to 1.085 5 tsp of yeast nutrient Pectic enzyme Acid Blend Tannin 5 Campden tablets Water to equal 5 gallons Montrachet yeast


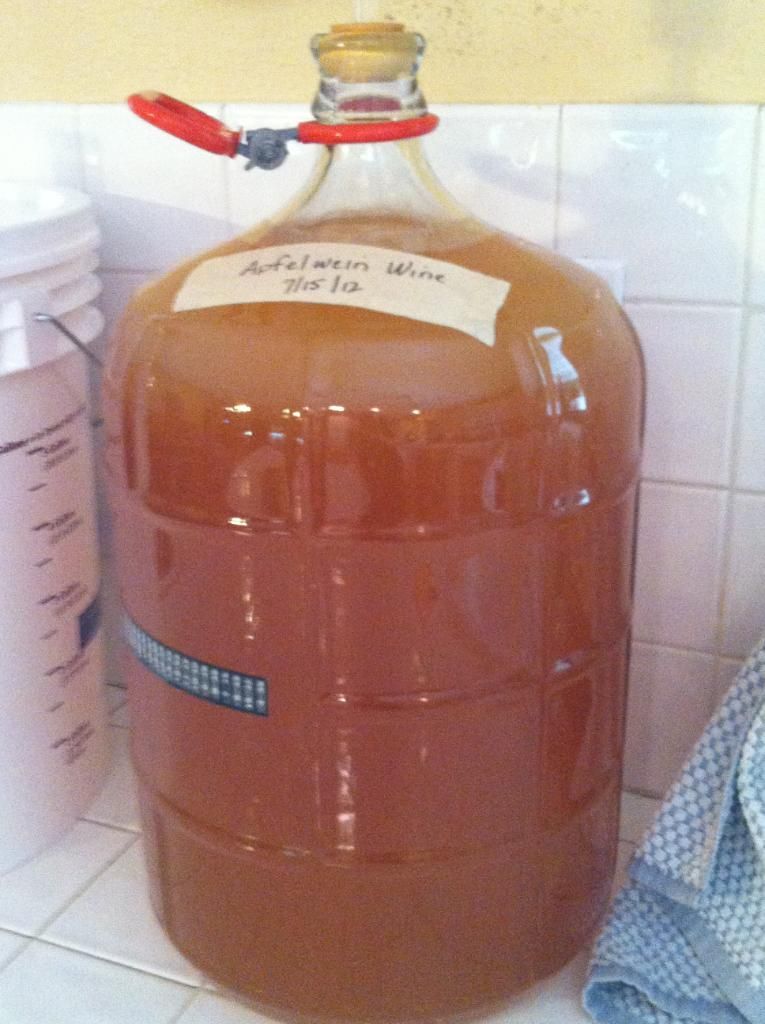
I also decided to make some Afpelwein. It is a German Hard Cider. The recipe is very easy and it is a quick recipe meaning that I could be drinking this wine in a few months. It basically consists of 5 gallons of apple juice, 2 lbs of corn dextrose, Montrachet yeast. All these ingredients go inside a 5 gallon carboy. I made this last evening and today it was fermenting like crazy! I love Woodchuck cider so I am hoping I am going to love this lot. It ferments very dry!


This evening for dinner I made Mango/Pork kabobs on the grill. I used some of my mango chutney. I love the way the mangos taste when they are grilled. Grilling releases their sugars and they actually become crunchy when you eat them. The flavor of mango and pork is delicious.


As you can see the Mango Madness continues. I am so excited that I made Mango Wine again. It had been a very long time. I don’t think the last time I made wine I completely understood the process. I think we had beginners luck. This time I think I understand the process a little better. I still need to have a better understanding of adding sugar to my Must or” feeding my Must” to maintain a certain specific gravity. I am sure that if I continue making wine I will understand the process completely.

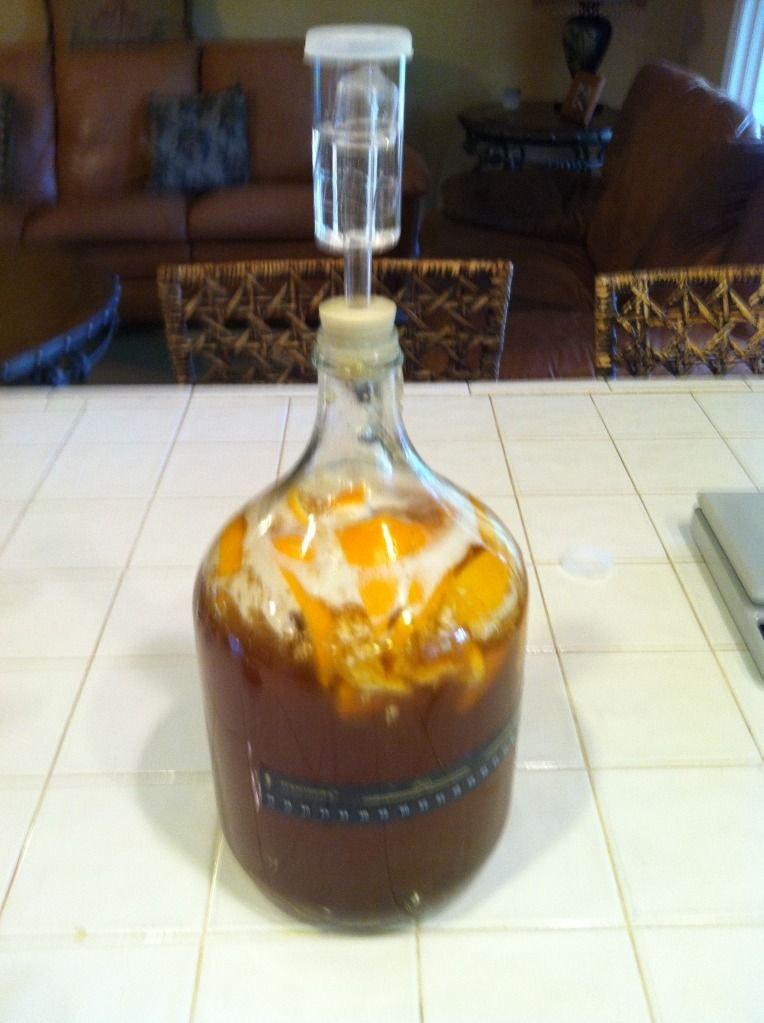
On my kitchen counter I have three different wines fermenting. I made Joe’s Ancient Orange Mead on 7/10, and now the Mango Wine, and Afpelwein on 7/15. I have my own little winery going on in my kitchen. Cheers!

Wednesday, July 11, 2012

My First Mead

I apologize but my computer crashed on Friday and I haven't been able to enter another blog. Where would the world be without computers and technology??? Obviously, we wouldn't have any blogs to read on a weekly basis. I am entering this on my iPad until my computer is working. I have been doing a lot of reading in preparation for making mead and mango wine. It has been many years since I made wine. I had my husband go up into the attic to see if he could find our old wine making equipment. We were trying to remember exactly what year it was when we made our Mango wine. We found the glass Carboy, primary fermenter, hydrometer, siphon tubing etc. Some of the equipment was salvageable some was not. Inside the primary fermenter was the receipt and the year was 1997. I cannot believe it has been 15 years since we made mango wine. No wonder we cannot remember the process. I have been reading and exploring several books, and the Internet, and there is so much information that it is mind boggling. Some of the science behind fermentation is like reading the Krebs cycle from Organic Chemistry. A few books recommended to read were "The Joy of Winemaking" by Terry Garey, "First Steps in Winemaking" by C.J.J. Berry, and "The Complete Meadmaker" Ken Schramm.

In February I took a class on Mead making while attending Bee College through the University of Florida. It was a lot of fun and brought back so many memories from when we made the mango wine. It actually was one of my favorite classes I attended. So what exactly is Mead? Basically, it is nothing more than Honey, water, and yeast. This mixture (known as a Must) is allowed to ferment until the yeast has converted the sugars into alcohol, at which point it is called Mead. The records of honey use and gathering predate those of winemaking, and beer brewing. Honey is considered a Paleolithic food. Rock drawings from Valencia, Spain, dated as far back as 15,000 BC indicate that humans may have been raiding beehives for honey in Paleolithic times. Rumor has it honeymoon refers to an old practice of giving newlywed couples a month's (moon) supple of mead (honey). Though considered the finest drink, mead has fallen out of of favor in the past several hundred years. Mead is now making a comeback due to the rising popularity of home-brewing and microbreweries.

There are different types of mead. For example a melomel is mead made with fruit, cyser melomel is made from apples, apple juice or cider, pyment melomel made with grapes, or grape juice, and metheglin mead is fermented and flavored with herbs and spices.

As you all know, I became a beekeeper last October and I am thoroughly enjoying all aspects of beekeeping. First of all, I love the fact that I am helping bees. My hives seem to be thriving. I am glad I am using TBH and feel it is a very natural way for the bees to draw comb. The only complaint that I have is I want more honey. Last time I was in the hives the queen had laid brood in the bars towards the back that we're full of honey. I need to wait for the brood to hatch. I opened up the brood area toward the front of the hive to give her more room to lay, in hopes that she will stay out of the honey area. I decided to see exactly how much honey I had bottled. I need 3 to 3.5 lbs of honey for a gallon of mead. I had slightly more than that. My biggest dilemma was trying to decide what recipe to make. I was thinking about making a mango ginger melomel but was persuaded to make a very proven and easy recipe for my first mead. It is called Joe's Ancient Orange Mead. It has been made thousands of times through the years. I found this recipe on www.gotmead.com. The recipe is as follows:

Joe’s Ancient Orange and Spice Mead

A little caveat before we continue. This recipe flies in the face of just about all standard brewing methods used to make consistent and good Meads. It was created by Joe Mattioli to make a fast and tasty drink out of ingredients found in most kitchens. It is therefore perfect for the beginner, which has resulted in it being perhaps the most popular Mead recipe available on the internet. As Joe himself says “It is so simple to make and you can make it without much equipment and with a multitude of variations. This could be first Mead for the novice as it is almost foolproof. It is a bit unorthodox but it has never failed me or the friends I have shared it with. (snip)...it will be sweet, complex and tasty.” Follow the instructions exactly as provided and you cannot go wrong. If you want to make larger batches, just scale up the recipe keeping all ingredients in the same proportion.

1 gallon batch 3 1/2 lbs Clover or your choice honey or blend (will finish sweet) 1 Large orange (later cut in eights or smaller, rind and all) 1 small handful of raisins (25 if you count but more or less ok) 1 stick of cinnamon 1 whole clove (or 2 if you like - these are potent critters) Optional - a pinch of nutmeg and allspice (very small) 1 teaspoon of Fleishmann’s bread yeast (now don't get holy on me--- after all this is an ancient mead and that's all we had back then) Balance water to one gallon

Process:

Use a clean 1 gallon carboy

Dissolve honey in some warm water and put in carboy

Wash orange well to remove any pesticides and slice in eights --add orange (you can push em through opening big boy -- rinds included -- its ok for this mead -- take my word for it -- ignore the experts)

Put in raisins, clove, cinnamon stick, any optional ingredients and fill to 3 inches from the top with cold water. (need room for some foam -- you can top off with more water after the first few days frenzy)

Shake the heck out of the jug with top on, of course. This is your sophisticated aeration process.

When at room temperature in your kitchen, put in 1 teaspoon of bread yeast. ( No you don't have to rehydrate it first-- the ancients didn't even have that word in their vocabulary-- just put it in and give it a gentle swirl or not)(The yeast can fight for their own territory)

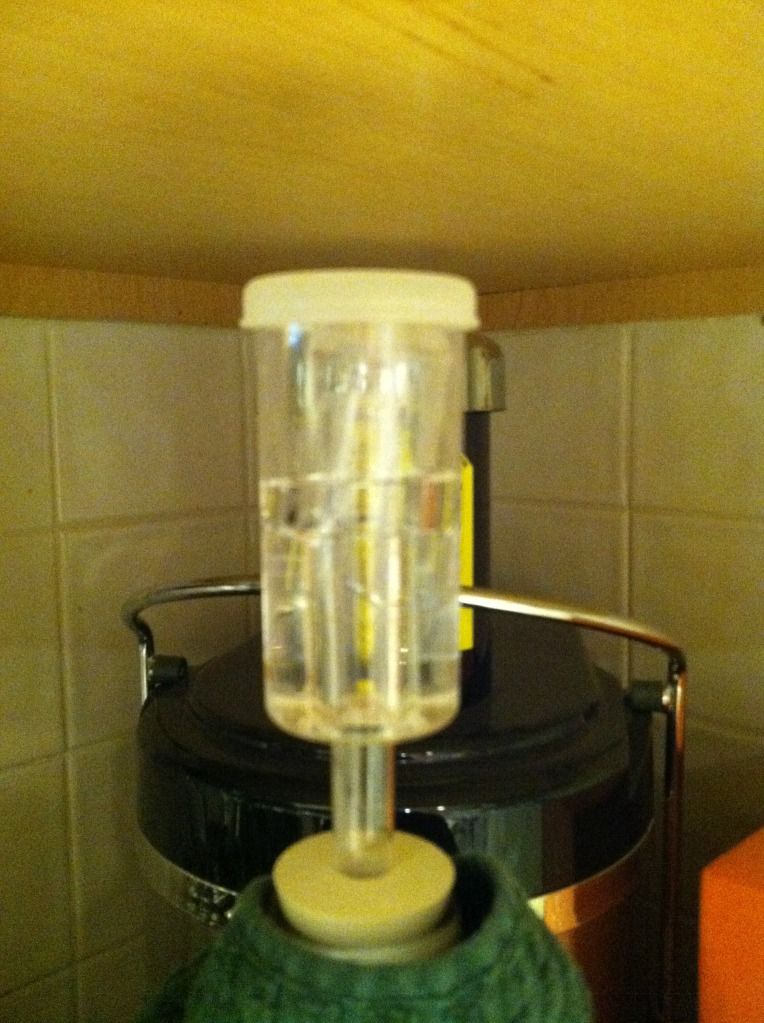
Install water airlock. Put in dark place. It will start working immediately or in an hour. (Don't use grandma's bread yeast she bought years before she passed away in the 90's - wait 3 hours before you panic or call me) After major foaming stops in a few days add some water and then keep your hands off of it. (Don't shake it! Don't mess with them yeastees! Let them alone except its okay to open your cabinet to smell every once in a while.

Racking --- Don't you dare

Additional feeding --- NO NO

More stirring or shaking -- Your not listening, don't touch

After 2 months and maybe a few days it will slow down to a stop and clear all by itself. (How about that, you are not so important after all) Then you can put a hose in with a small cloth filter on the end into the clear part and siphon off the golden nectar. If you wait long enough even the oranges will sink to the bottom but I never waited that long. If it is clear it is ready. You don't need a cold basement. It does better in a kitchen in the dark. (Like in a cabinet), likes a little heat (70-80). If it didn't work out... you screwed up and didn't read my instructions (or used grandma's bread yeast she bought years before she passed away). If it didn't work out then take up another hobby. Mead is not for you. It is too complicated.

If you were successful, which I am 99% certain you will be, then enjoy your mead. When you get ready to make different mead you will probably have to unlearn some of these practices I have taught you, but hey--- This recipe and procedure works with these ingredients so don't knock it. It was your first mead. It was my tenth. Sometimes, even the experts can forget all they know and make good ancient mead. And there you have it. You have made your first Mead. Now come the steps that must be followed to make a good, and eventually great Mead.

The recipe was very easy to follow. Within an hour of making it the airlock started to bubble, showing me that the yeast was working. Now I just need to have the patience to wait for at least 6 months. I made a video of the process but the sound was not audible. I will include as many pictures as possible. Maybe I will be able to fix the sound on the video.

I’m so excited that I made my first mead. It was especially fulfilling knowing I used my own honey from my bee hives!!

Next, Mango Wine! I have cut up approximately 20-25 lbs of fresh Florida red mangos. My personal favorite mango!! They are frozen in my freezer just waiting for me to start the process. Freezing actually helps break down the cell wall and extract more juice from the fruit. I need to read some more and have a better understanding about the relationship between specific gravity and alcohol content. Like i said it is like a lesson in chemistry!

Monday, July 2, 2012

Bee Art for my Garden

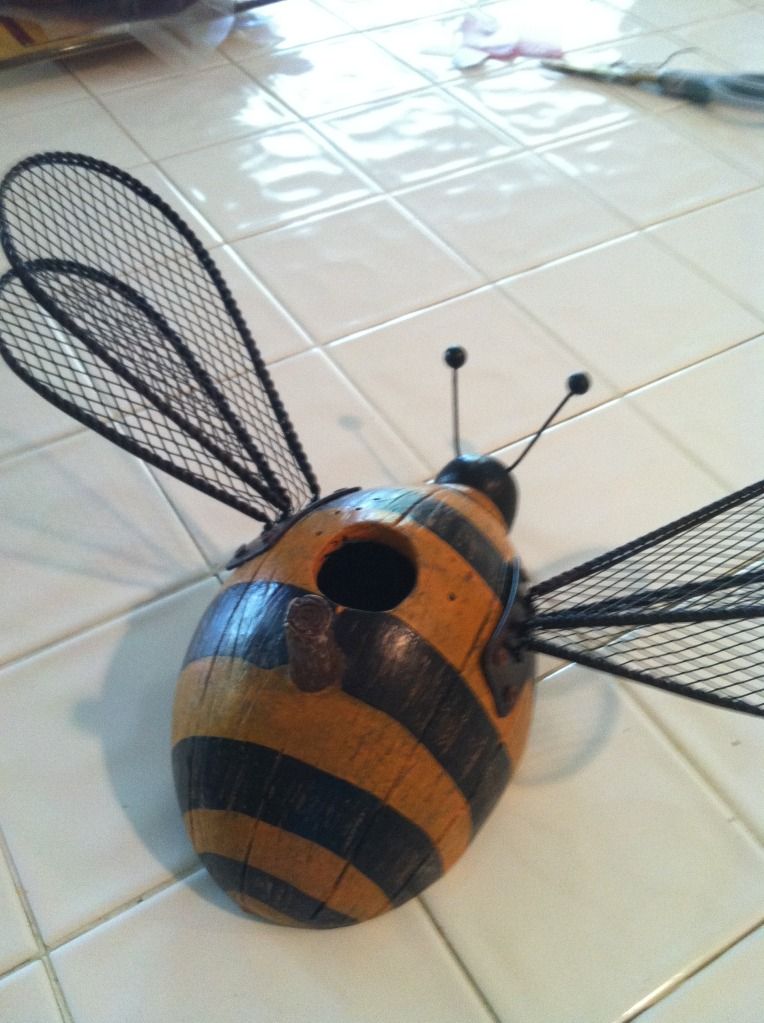
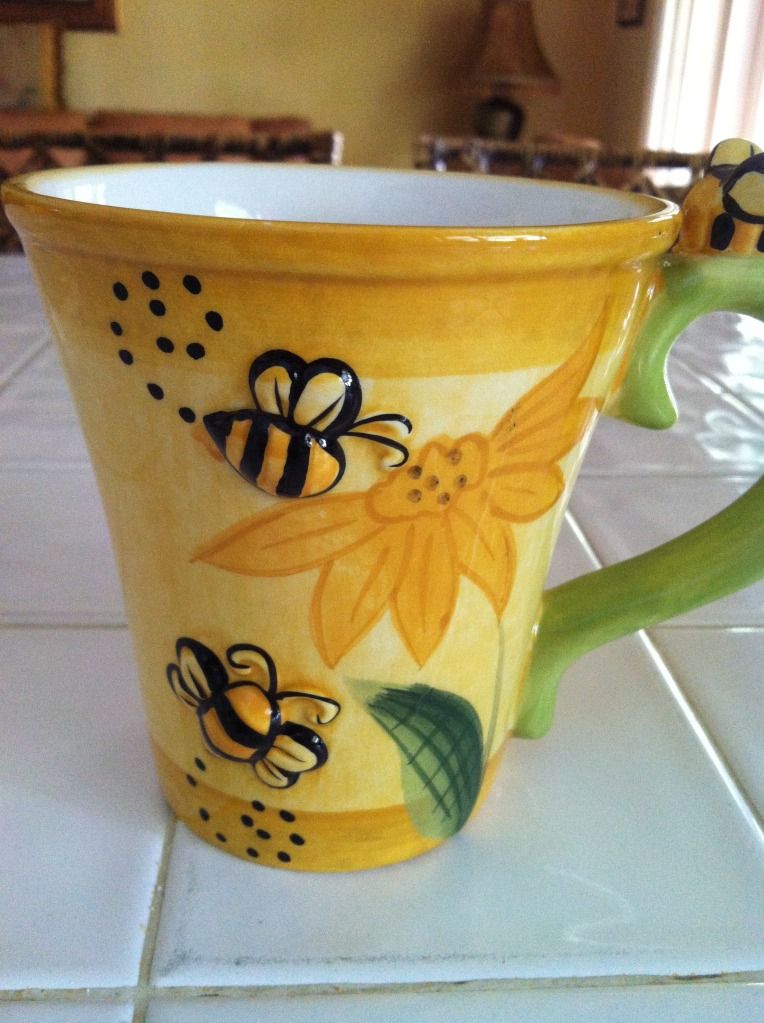
Now that I am a beekeeper I found myself attracted to anything that might be honey bee related. I found some cute little knick knacks at Pier One this weekend. Here are a few pictures. I think they will add a little something special to my garden.


Sunday, July 1, 2012

“Beautiful” Bee Attracting Plants

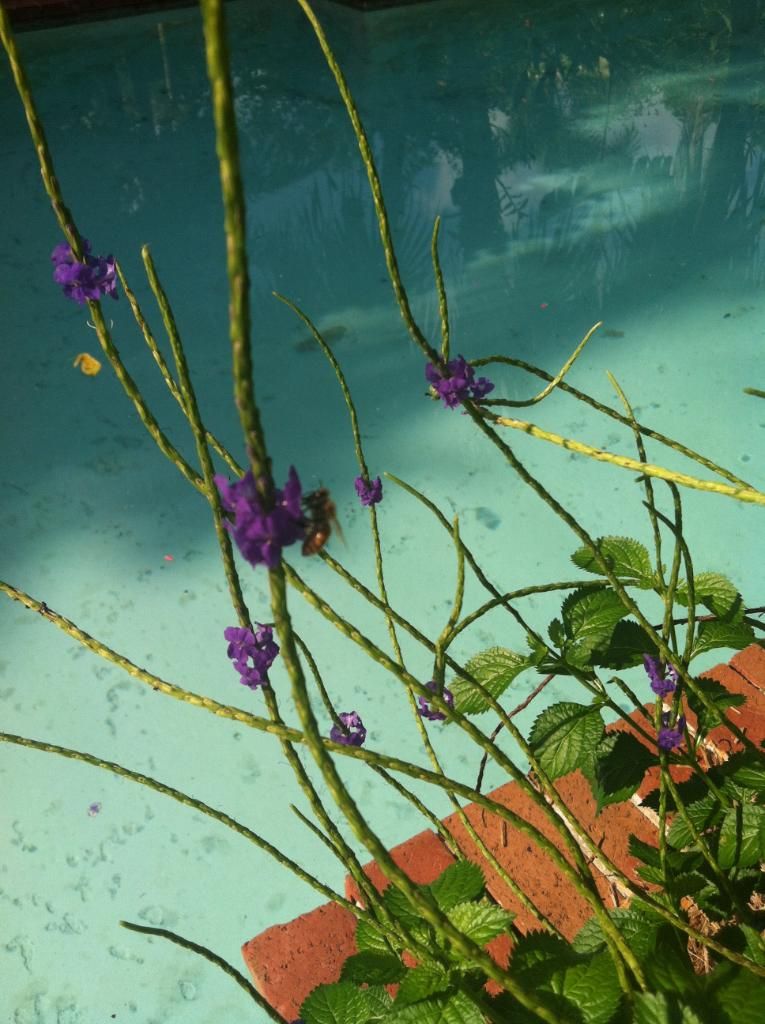
I have so many different plants in the garden that are attracting many honeybees and native bees. Since I am concerned for all pollinators in general, I have planted many plants in my garden that attract bees, butterflies and hummingbirds. I do know that since I have gotten my bee hives I am much more aware of honeybees in my garden. I am not sure if they are my bees, but the plants that I have planted seem to be very popular with honeybees and native bees. I think their favorite plant is Blue Porter Weed (Stachytarpheta urticifolia). This plant is very easy to grow. It bounces back easily after pruning. One of the nice things about this plant is that it reseeds freely. I have many little seedlings growing throughout the yard. Many I pull, but if the location is right I always welcome a volunteer plant. Porter Weed also comes in a variety of colors such as pink, dark purple, coral and white. I have several in my garden, but the bee’s favorite is the blue. It is pretty impossible to look at the Blue Porter Weed without seeing a few bees on the flowers.


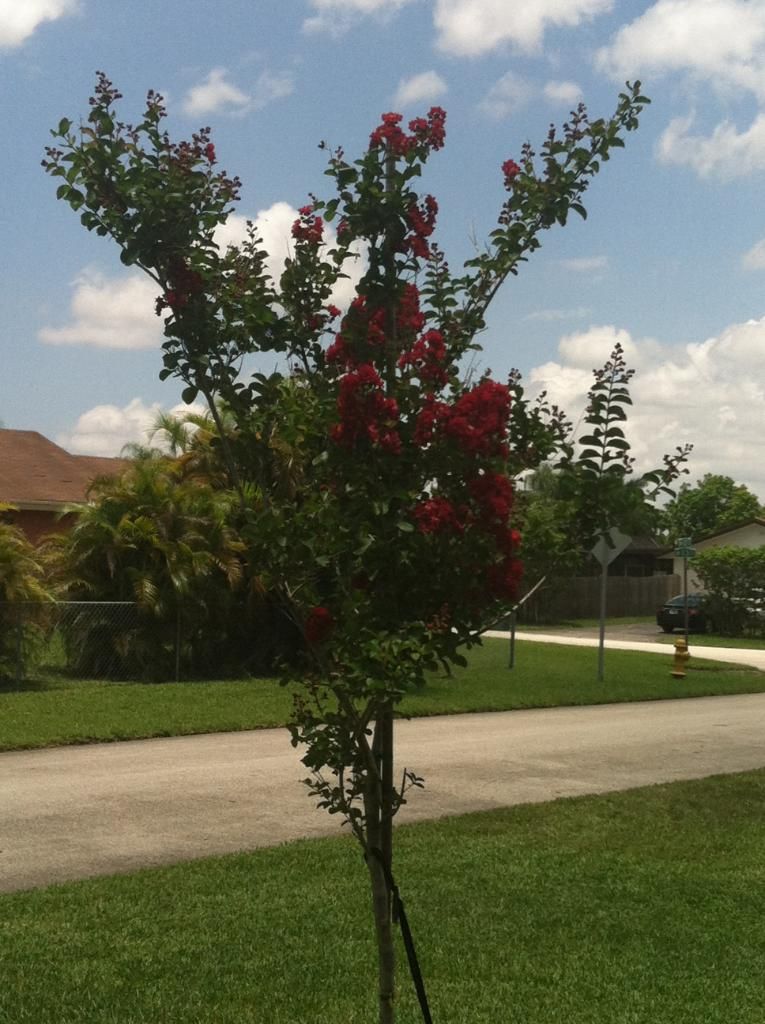
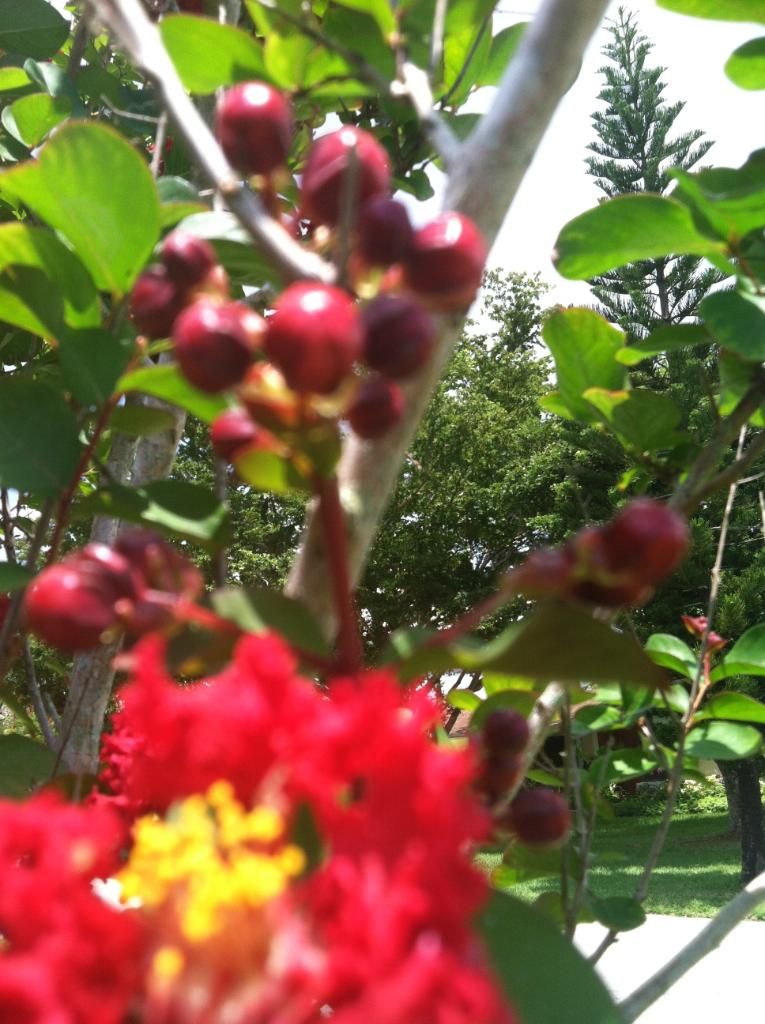
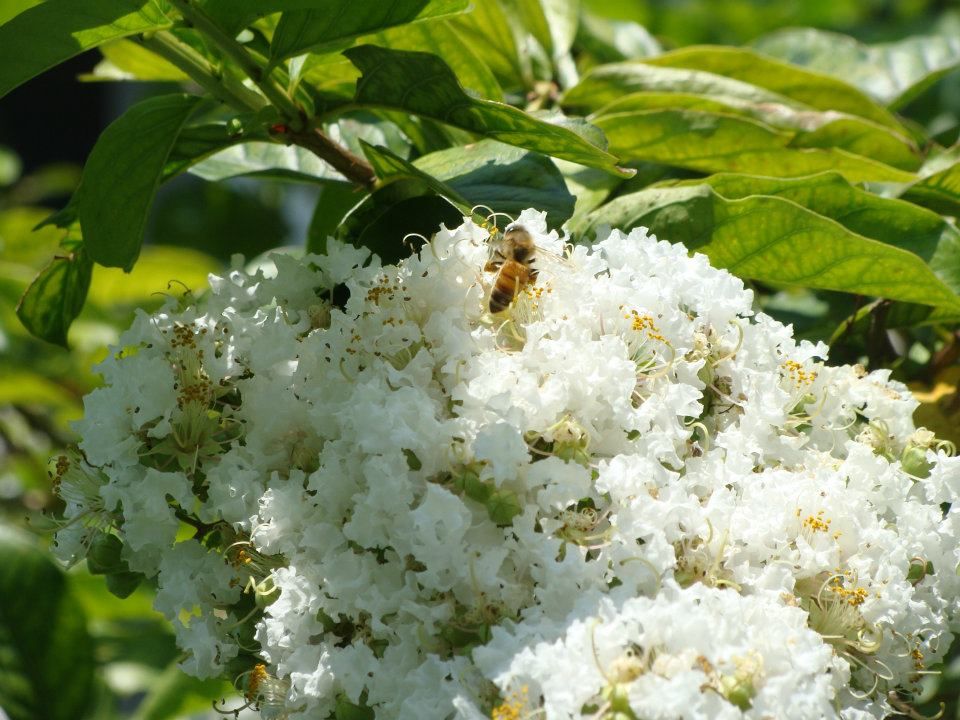
There are a couple of trees that are blooming right now. One is a beautiful Scarlet Red Crepe Myrtle. It is one of my favorite trees. Mine is a couple of years old and I feel that it is struggling at times. I think it should have grown in two years more than it has. I fertilized it very well with both an organic and inorganic fertilizer this year. I try to keep the new growth at the trunk near the ground cut back, but still it is very slow growing. Right now it is in bloom and looks beautiful. Someday this will be a 10-15 ft tree with gorgeous blooms. I was looking at it the other day and discovered it was loaded with honey bees. I was very surprised and happy that my bees have another source for pollen and nectar. My brother was in his yard this morning and said he could hear the bees 30 ft away as they were all over the Crepe Myrtle. The picture of the white Crepe Myrtle is his tree.


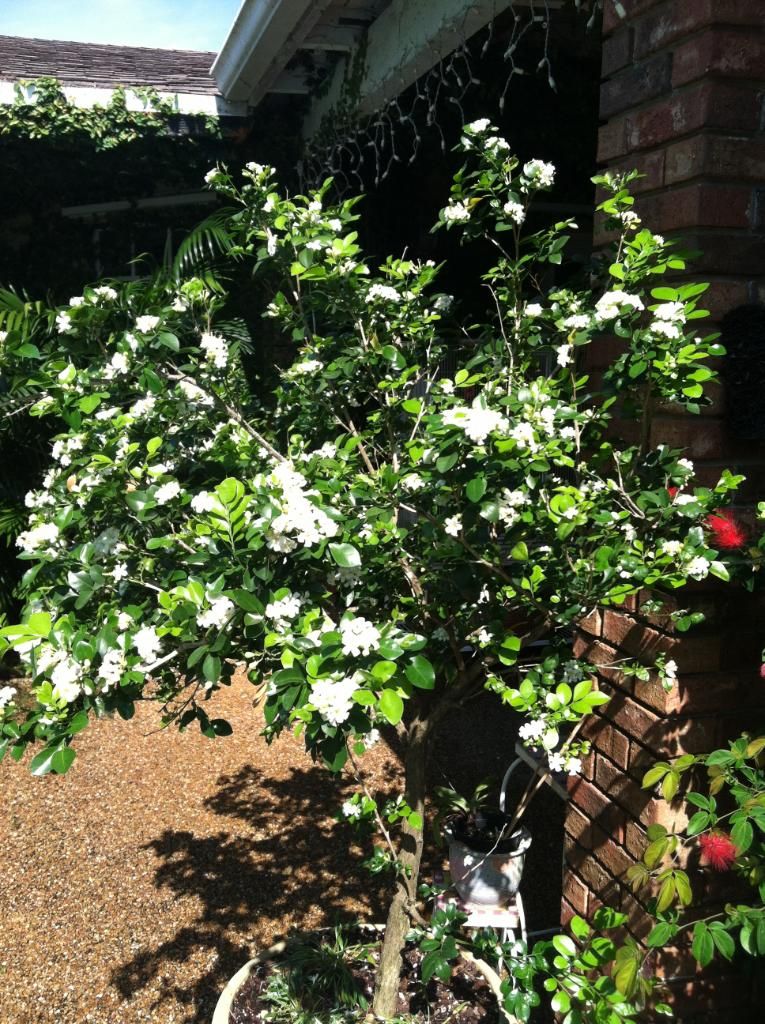
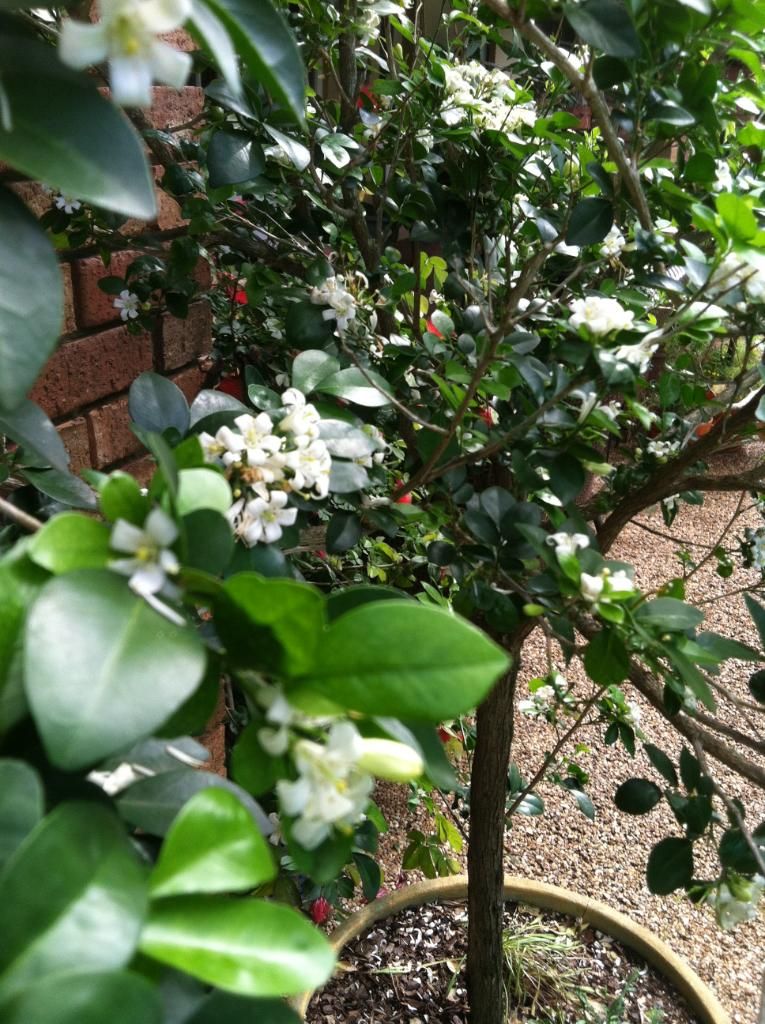
The Jasmine Tree Murraya paniculata 'Lakeview' is also in bloom. It has deliciously fragrant flowers that you can smell as soon as you exit the backdoor. I love when this tree is in bloom. I have this tree in a container on my patio. If I were to plant this in the ground it could grow 10-15 ft. I love having it grow on my patio so that when it is in bloom I can experience its delicious fragrance. The bees love this tree. I have also noticed some native bees on this tree. Not sure exactly whether they are yellow jackets or native bees. I need to learn more about the different native bees in Florida. It has only been recently that I’ve put up the mason bee houses.


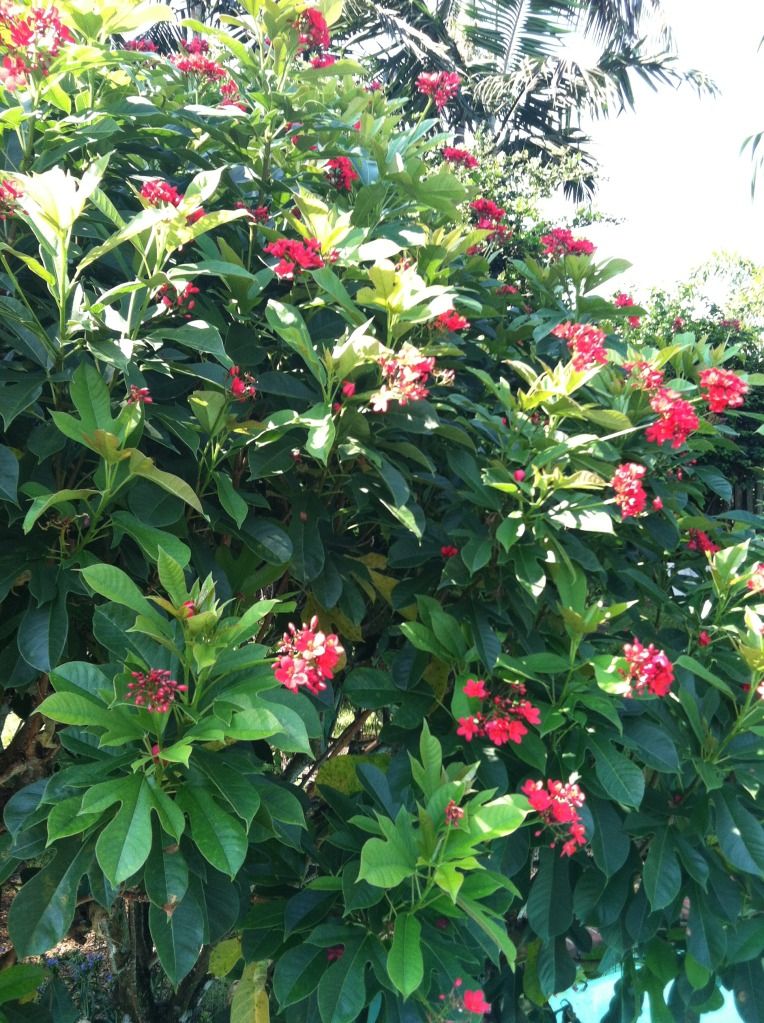
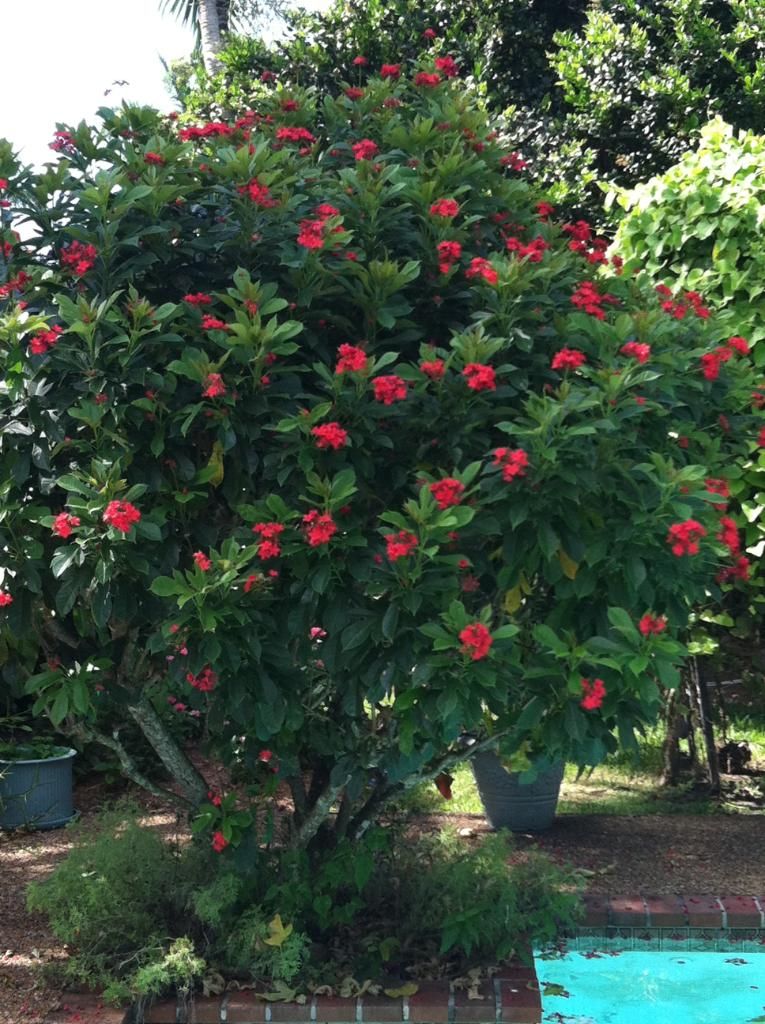
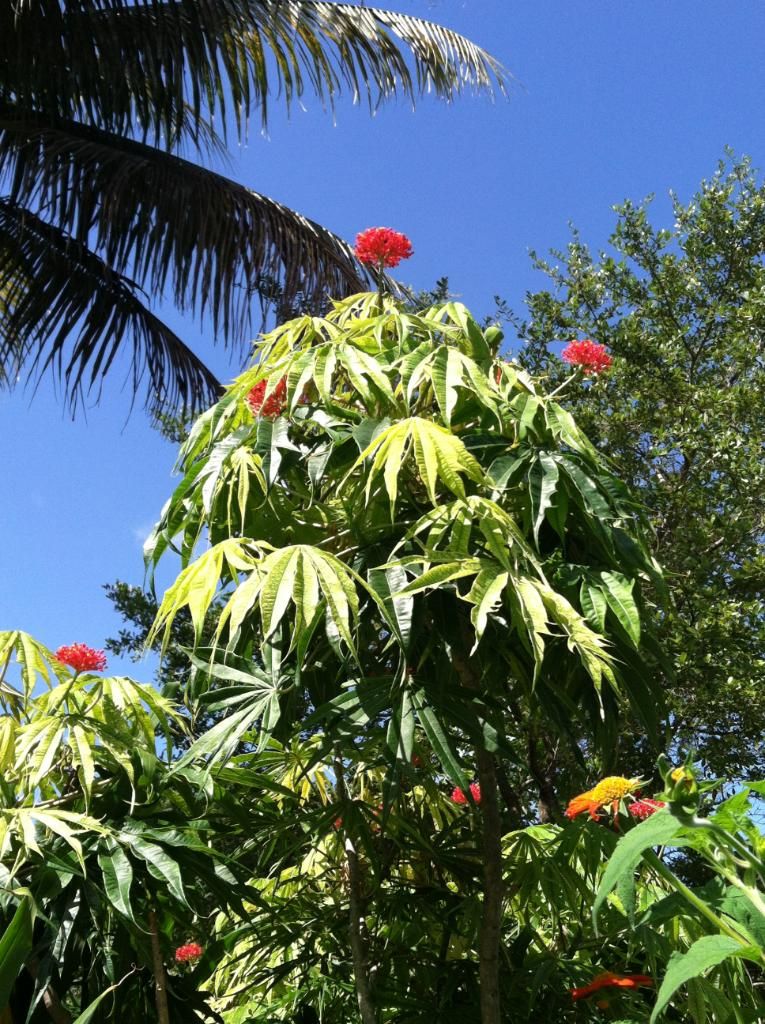
The Jatropha tree is another variety that is one of the bees and butterflies favorite in the yard. Jatropha is a genus of approximately 175 different succulent plants, shrubs and trees (some are deciduous, like Jatropha curcas), from the family Euphorbiaceae. I believe I actually have two different species in my yard, Jatropha Integerrima and Jatropha gossypiifolia. The bees love jatropha integerrima. It has little red flowers. The Jatropha has a tendency to drop its leaves, so it can be a little messy. I have mine around the pool. I always have red flowers and leaves in the pool. The butterflies and bees love it so much that I would never move it to another location. My husband probably would love me to, because he is always skimming up the flowers and leaves. To keep it looking lush and green I prune mine back at least twice a year. The other jatropha tree I obtained many years ago from Butterfly World. It was very small at the time, about 6 inches high, and now it is about 8 ft tall. I was told by Butterfly World that it was from Costa Rica. I believe this species of jatropha was being grown for biodiesel fuel.


When I was at my favorite nursery, Galloway Farms, I saw this plant that seemed to have a lot of bees attracted to it. I was a little worried about how well it would grow here in Miami, because it looked like a succulent, and they told me not to water it too often. With all the rains in Miami I didn’t think it would thrive. I did a little research and found out that it actually would do quite well in South Florida. In fact, they said it was the perfect perennial for South Florida because Bulbine is drought tolerant, grows well in poor soils, and blooms repeatedly with cheerful flowers that are yellow or orange, depending on the variety. It is suited for gardens in USDA Zones 9-11 and is hardy to the low 20s. The succulent, grass-like foliage grows to about a foot tall, while the flower stalks typically reach two feet, dancing above the leaves throughout the summer months. Bulbine was named a 2006 Plant of the Year by the Florida Nursery Growers and Landscape Association. It is generally sold under the scientific name Bulbine frutescens, though some nurseries use the synonyms B. fruticosum or B. caulescens. It has done very well in my garden and the bees absolutely love it. I always see honeybees visiting the flowers and their pollen baskets on their legs are full of pollen. It was definitely a good choice.


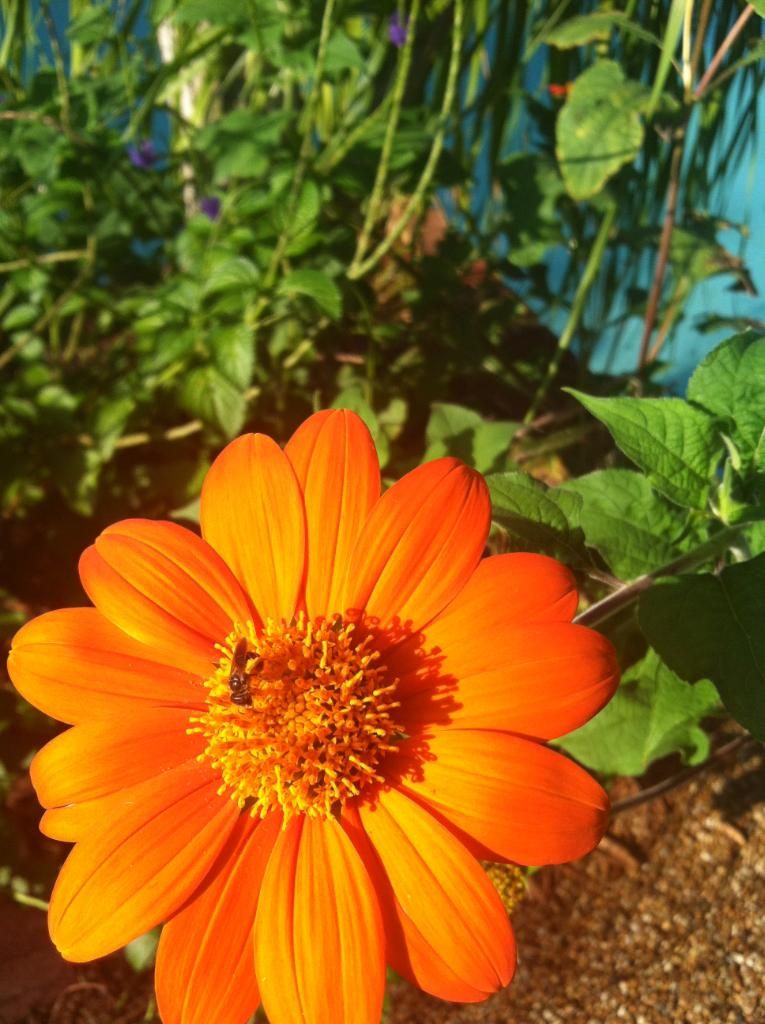
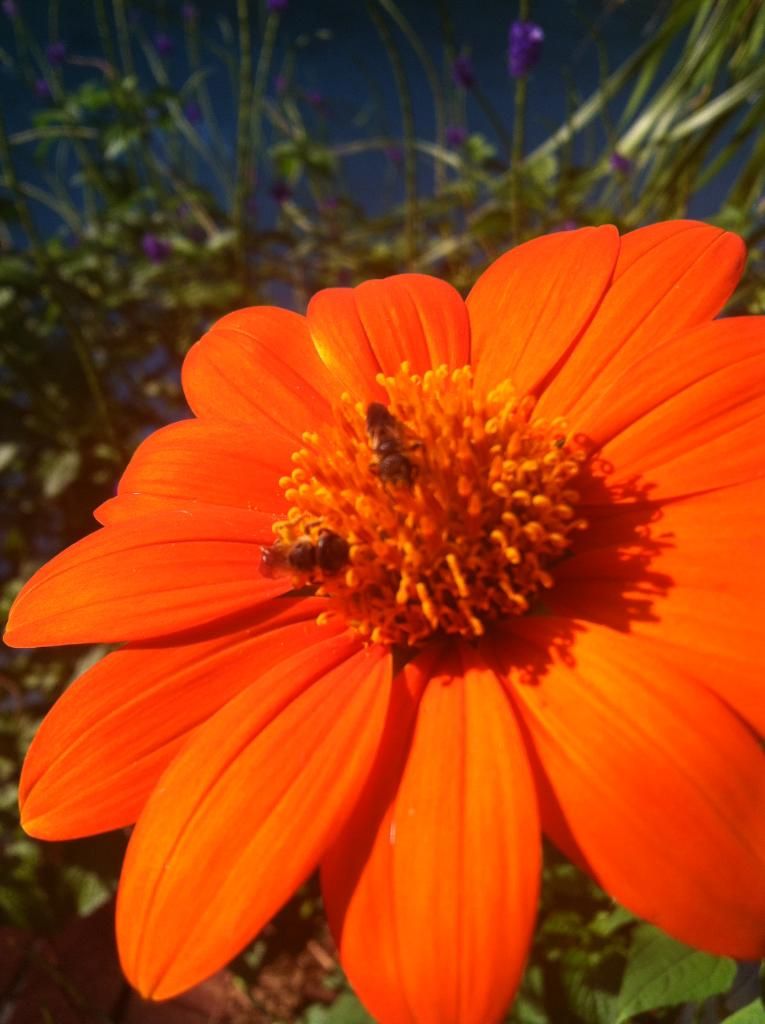
I want to add one more pictures of my Mexican Sunflower. It has been well established in my garden and the butterflies absolutely love this plant. I have discovered that a little native bee also loves this flower. I have several pictures of them gathering pollen. I think you should be able to see the little pollen baskets just full of bright yellow orange pollen. They seem to love this composite flower and just kind of sit on the disk being cushioned by all the pollen they are gathering.

Visit My Website:
CLICK HERE

Or Visit My Etsy Shop:
CLICK HERE